
I’ve written, rewritten, performed delicate surgery, and ultimately torn up this review a number of times now. I don’t want to be the negative reviewer guy, but what it comes down to is that I’m just not very impressed with Reality 4. Sure, we have some nice features introduced since Reality 2, such as procedural textures, and SSS, but I’m just not sold (more on that later). There are many happy Reality users out there, but then there are the others like me, skeptical, on the fence, indifferent. So, I’m not saying Reality is bad, just that it’s not my beverage of choice.
Metropolis CPU 20 mins
Before moving on I should point out now that I’m writing this review for the DAZ Studio (Windows 7) version using a i7 4770 and two GTX 780ti cards (not AMD cards). For most GPU renders I stuck with using the 780 in the secondary slot as using the first or both resulted in slow system response. All renders in this review are raw from Reality for the purposes of test (sorry, no pretty ones here).
LuxRender Speed Increases
Given my outlook of Reality I was still quite excited by the news of Reality 4.1 and all the talk of speed. Speed increases are a huge selling point for me when it comes to LuxRender, and in this regard Reality 4.1 is a solid point release. 4.1 gives access to some of the latest advances of LuxRender 1.5, which is great. We see some nice acceleration on many recent CPUs, and we get a greatly updated OpenCL based engine, which is now well on the way to containing all the features of CPU LuxRender.

CPU Extra Boost 19 min
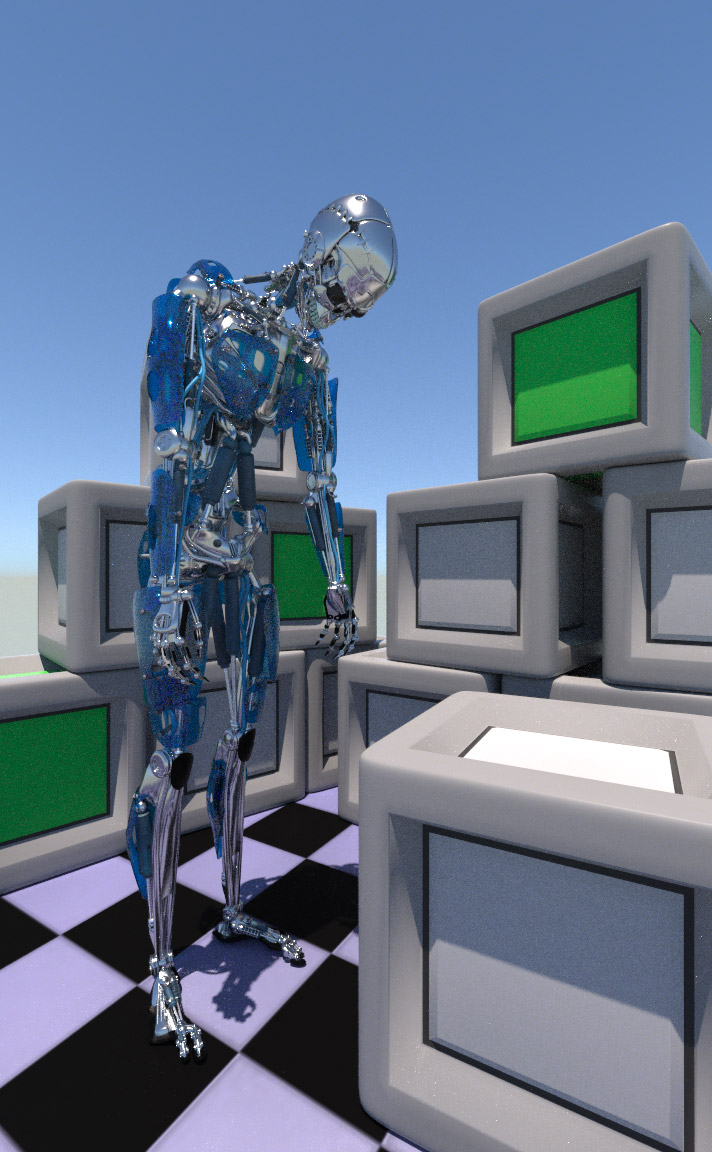
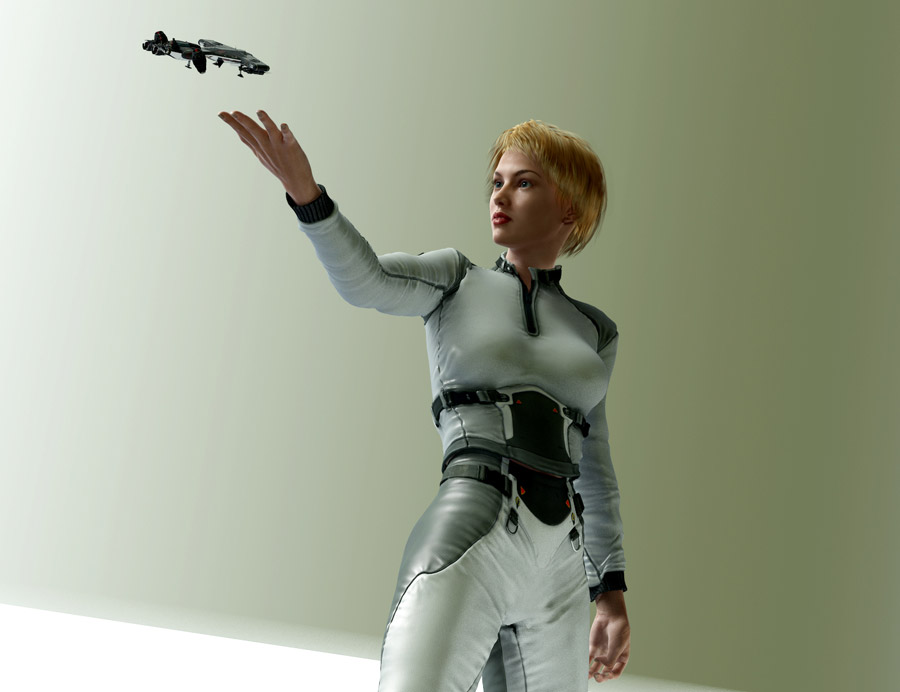
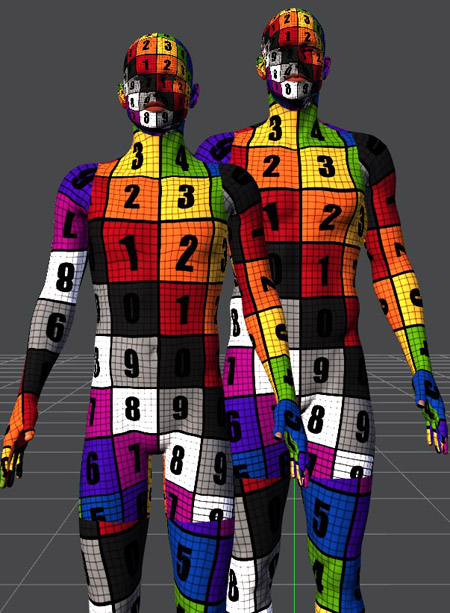
A close examination shows the stark differences between bidirectional and standard path tracing.
There are a number of caveats with these speed increases. First: CPU and GPU “boost” modes only support Path “mono-directional” renderer (depending on the type of scene being rendered this may or may not be an issue). Boost seems to be one of Paolo’s own “homebrew” tweaks to Lux render settings. Two: There are slight (and sometimes not so slight) render difference between OpenCL and standard CPU modes. I’ve noticed this with glossytranslucent materials, particularly when coupled with the homogenous volume for SSS. More importantly, there are issues with geometry artefacts at lower levels of subdivision. These issues appear to be particularly noticeable on models that heavily rely on subd methods for controlling shape, such as the Genesis figures (fixed as of 4.1.1).
Reality 4: A Mix of Good and Bad
Reality was my introduction to physically based rendering, which completely spoiled me for biased options. Even the pretty Monte Carlo GI in LightWave felt like slumming it afterwards. What spoiled my interest in Reality, as a bridge to LuxRender, was Luxus. Luxus is a huge ‘effing mess in its implementation (in to DAZ Studio’s user interface), but it has a number of points that, in my mind, and to a good number of others users, makes it superior. Probably the most significant of these points is that it exposes the controls for just about every feature of LuxRender.
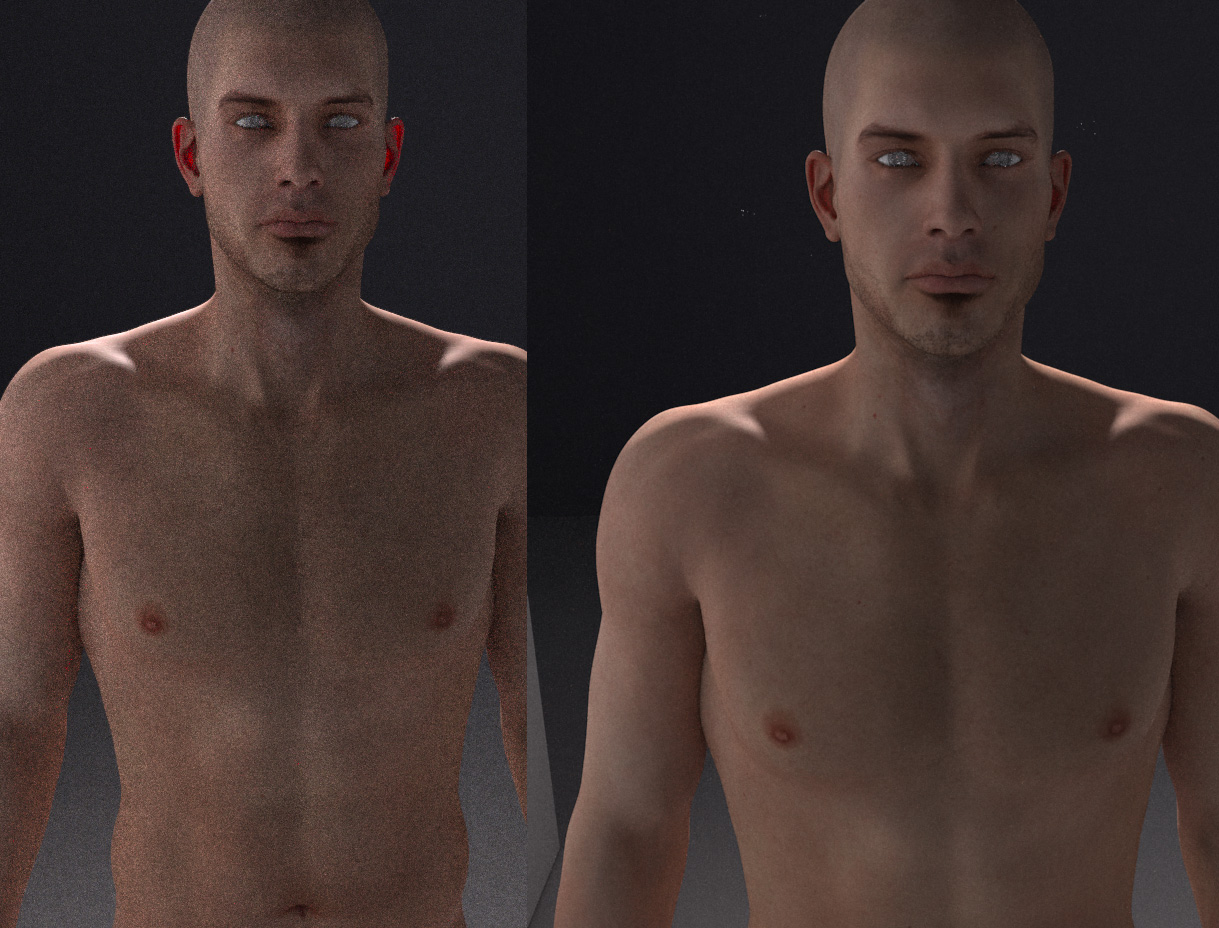
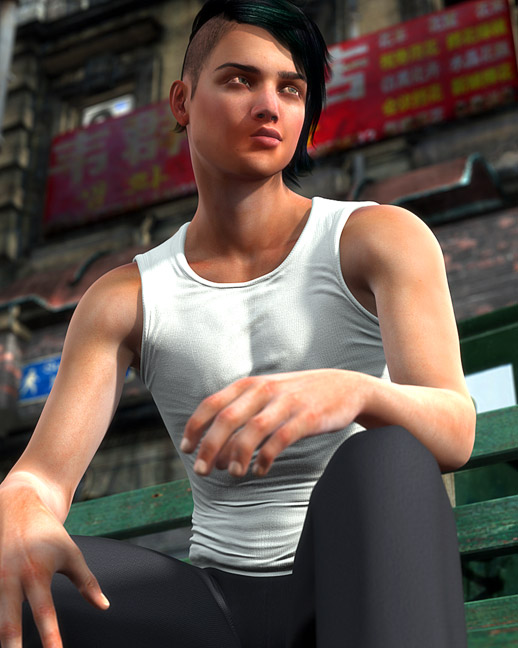
CPU left, OpenCL right. Both metropolis, and both with identical material settings. We see that CPU is still king in terms of quality.
Luxus beat Reality (3, Poser) to the punch when it came to offering options for subsurface scattering, and with all the extra render and material features I could forgive that Luxus was spread all over the place with huge ugly lists of options (some of which even the hardest core of the hardcore would rarely touch). It’s a raw, barebones sort of plugin, but it makes up for it in power. I had hoped that Luxus would shake up the Reality trajectory, but every release of Reality has been an evolution of the earlier product (which, depending on perspective is either good or less good). Maybe Luxus didn’t hurt Reality, maybe Paolo (Mr Reality) never saw the endless blog and forum posts that pointed out the power aspects of Luxus. Maybe these “elite users” aren’t a big enough porting of Reality users. Whatever the reason, Paolo is happy to tell us how we should be using LuxRender.

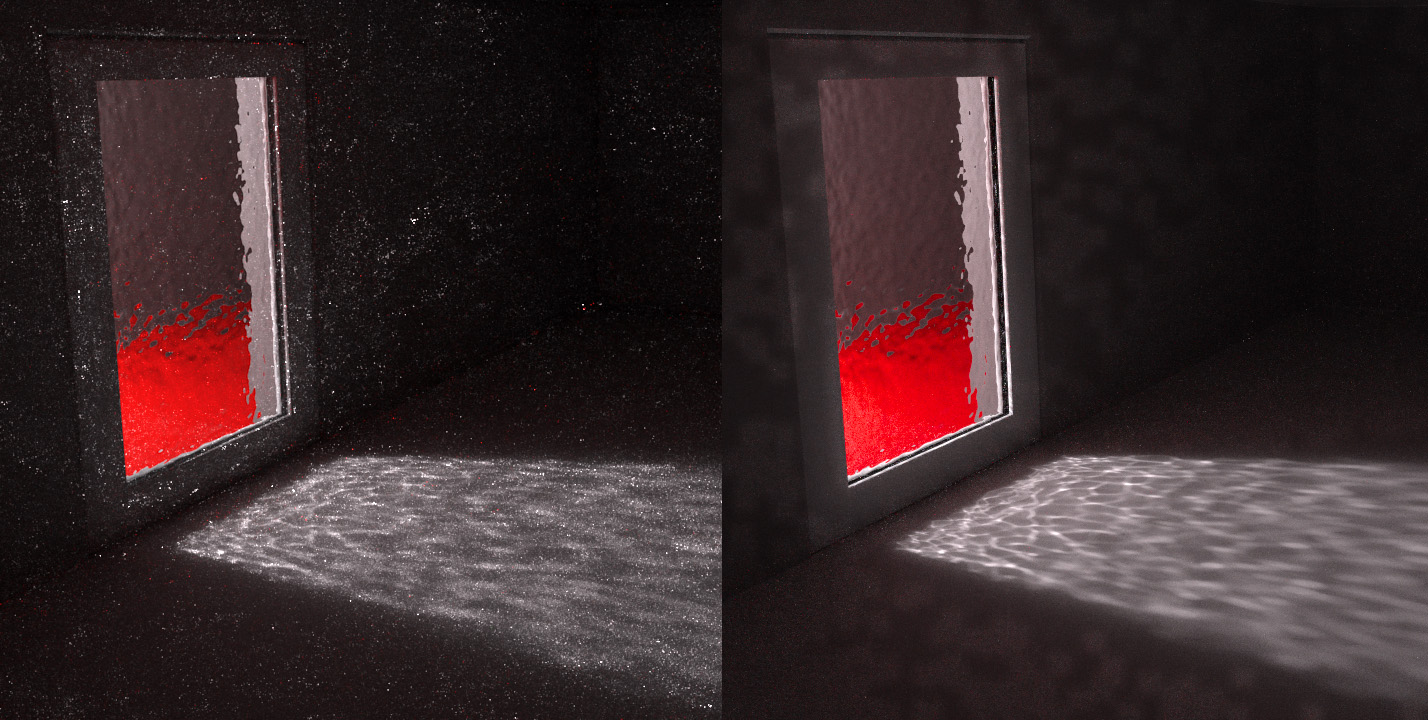
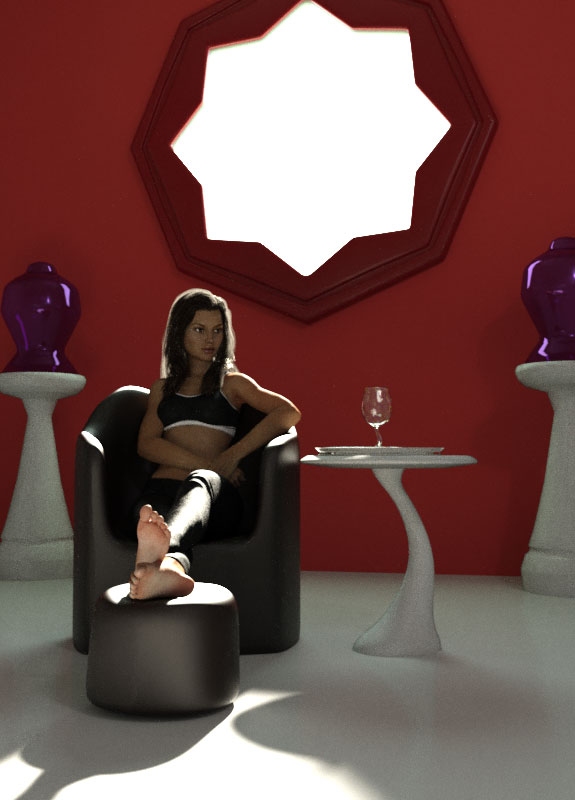
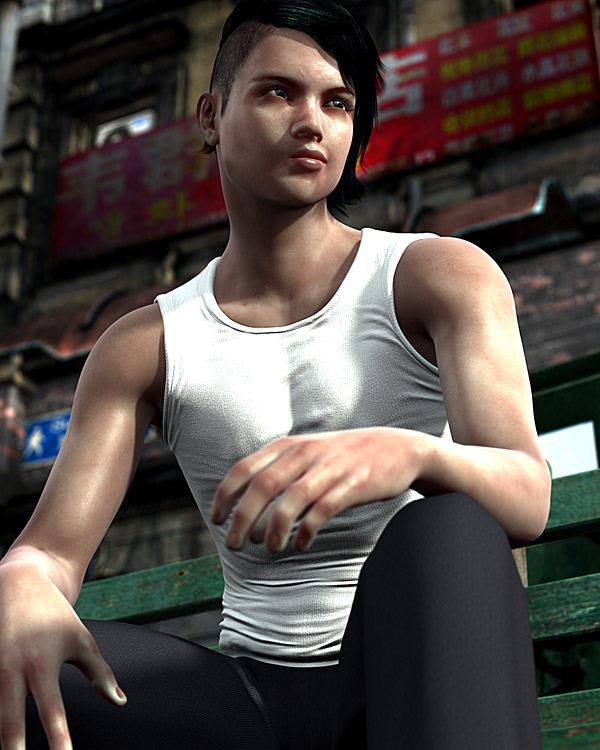
Reality on Right, Luxus on left. Both are flawed renders but Luxus gives many more options when setting up glossy translucent materials. Texture control maps are great for subtle tweaks.
I love that Luxus lets us tweak render settings, access multiple subsets of rendering engines. I love that it gives us sensible access to the basics such as glossy translucent surfaces and volumes. Yes, I know Reality has these surfaces and volumes, but even then Reality gives us the “light version”. Why, in this wondrous modern day and age, or we not given the option to input textures in to our absorption and scattering slots? Why is Reality lingo inconsistent with LuxRender lingo? Why does it require google to learn how to setup a glossy translucent surface specifically for Reality? The manual is obscenely vague on this process.
One would assume the glossy trans would be sitting right next to glossy and matt materials, but nuh-uh. We unlock this obscure material via volumes. Why? And why is there a separate tab for volumes in the first place? Yes, I guess it might make it easier to share volumes between different surfaces, but what about good old copy past? After all, we are probably going to have to tweak those volume settings from one model or character set to the next.
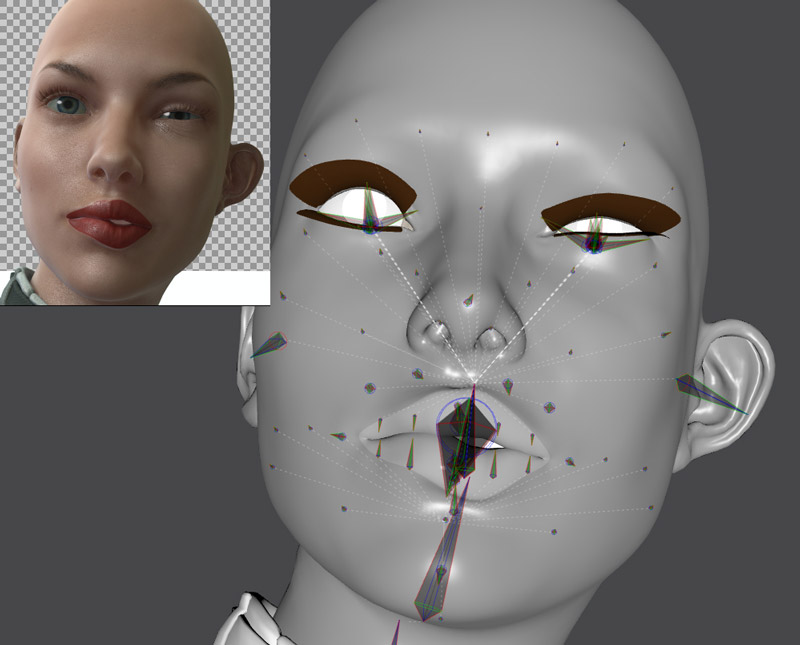
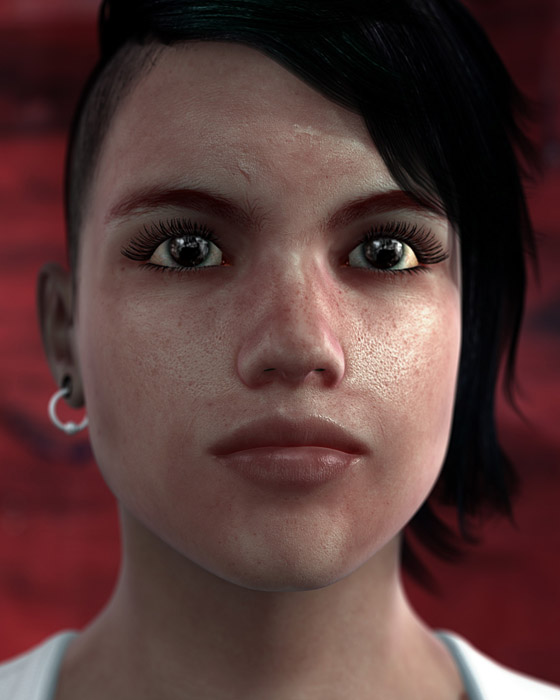
OpenCL having a fit on left. CPU doing weird stuff on right. Presumably the patchy areas in the CPU image is working to clear noise (noise aware).
Reality has gone a good distance on squashing some strange idiosyncrasies and quirks, but these seem to be rooted in Paolo’s design process and ideas about how things should be, both in terms of design and how users should relate to LuxRender
To cut through it all, and paraphrase so many posts I’ve seen on the subject, Reality is great for novices and those that just want to get on with the business of rendering. If Reality were a book it would be “LuxRender for Dummies”. This is certainly not a bad thing. Many of the render settings are superfluous for many users, as are texture control maps, but for hardcore render geeks and artists that really want to push their work to the next level, it is limited. There, that’s it! Reality is limited.
Final Thoughts: Reality 4/4.1 and LuxRender
Reality’s Good Points
- Reality is great for new users, and those that want to render without having to worry about a huge list of engine configurations.
- It supports a good chunk of what LuxRender has to offer
- It is relatively easy to work with (though with some frustrating quirks)
- Some love the Reality GUI
- Speed increases
- Procedural goodies
Reality’s Bad Points
- The first point on the list isn’t about the program so much, but this seems rather big to me. On the Reality “Details” page there is one mention of LuxRender, and it’s all the way down the bottom of the page. This seems to be a systematic tactic taken on other pages on Preta3D.
“Reality is a rendering solution that extends DAZ Studio and Poser providing the most advanced Physics-Based Rendering system in the market.”
Is it just me, or are we correctly attributing the awesome rendering power here? Let’s give Paolo the benefit of the doubt and say he’s concerned making too much out of the external render engine (which Preta3D has little to do with) will unnecessarily scare people away. Something like that?
- Reality hides many of LuxRender’s rendering and material features (more so the former). Some of these would be very beneficial to intermediate and advanced users.
- Reasonable manual
- Reality GUI – though considerably improved since Reality 2 (first version I used)
- Convoluted glossy translucent and volume setup
- Would love to see more of the procedural options available for use in the diffuse channels (as opposed to being strictly for displacement).
- Manual has some serious limitations and oversites
- Reality lingo is not always consistent with LuxRender spec
- Does not include the LuxRender environment camera (why?)
On LuxRender Speed Increases
Metropolis CPU is still by far the sharpest tool in the LuxRender arsenal. Comparing OpenCL, accelerated, and “Extra Boost” render side-by-side with CPU renders will often be as day is to night. Sometimes speed just isn’t worth it. OpenCL just isn’t there yet, but we are so close!
If you have a reasonable NVIDIA card LuxRender might not be the best option, certainly not in all situations. See the next post for a head-to=head LuxRender vs Iray.
On Luxus vs Reality
For the sake of final balance it is necessary to make a notes on Luxus in its current state.
- Has not been updated in quite some time. As a result it doesn’t support all LuxRender’s latest features, though it does include text boxes to input code.
- Its incorporation into DAZ Studio makes an art of mess.
- Poor documentation.
- Bug where Luxus somehow fails to export materials. A very frustrating bug.
- Exports scenes to a temp folder (that wipes on closing DAZ Studio). However, this can be changed.
- No environment camera (why?).
In short, I would love to see this plugin updated and tidied up. In its current state Reality is the better plugin for most users. You can pickup Reality 4 for DAZ Studio and Poser from most DAZ/Poser community brokerages including DAZ and directly from Pret-a-3D.


 Chapter 1 introduces us to the basics of the DAZ Studio interface and how to tweak the layout for a more rapid and open workflow. We’re also introduced to loading content, Genesis, and auto-fitting clothes and hair.
 Chapter 9 has more detail on light as we are walked through the process of lighting a rather nice final image, so lots of good pointers here including the incorporation of some techniques used in traditional film and photography. Paolo touches on monitor calibration, a topic which any artist with a little experience under their belt will know is of significance importance. It is a shame that only software/hardware solutions (that cost money) are mentioned when simple DIY approaches, which are more than sufficient for most users, are not acknowledged.