 I’d like to thank Packet Publishing for supplying me with a reviewers copy of The Complete Guide to DAZ Studio 4. Available: Amazon, Kobo, Booksamillion
Paolo Ciccone is a reasonably well known chap within the Poser/DAZ Studio community with his Reality line of products for both pieces of software. The Complete Guide for DAZ Studio 4 is not his first foray into training material. He has released his video “Make Your Own Reality”, “Blender Survival Guide”, produced the “Reality 3 Master Class” (Poser), and other assorted tutorials on YouTube. Right from the get-go I’ll say that Paolo is concise and clear in delivering his information, something that is always appreciated.
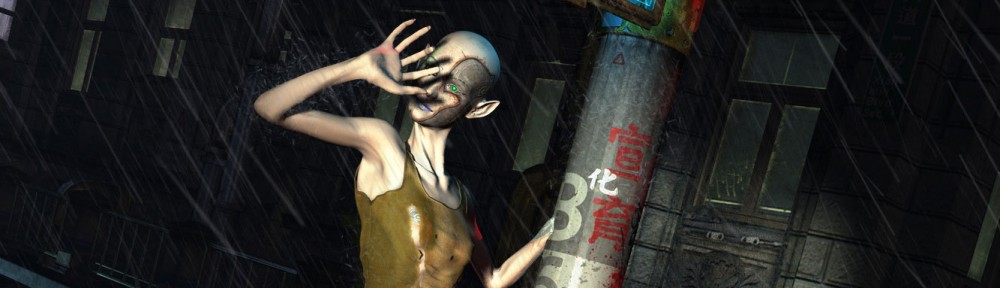
This book does not however live up to its title. It is not really a Complete Guide in any but the broadest sense. Perhaps, Complete Beginners Guide. To be fair, many of the subjects left out are reasonable exclusions, such as painting weight maps and other advanced content creation tools, which the vast majority of users will make little or no use of. There are some glaring omission, such as a discussion of render settings for 3Delight, DAZ Studio’s standard render engine. Many new users have trouble with these controls.
Another area Paolo leaves out is a thorough look at configuring common materials such as metal, glass and skin (or any materials at all) for 3Delight. The cynic in me sees Paolo going about setting up 3Delight as a stick-man ripe for LuxRender and Reality to come in and push over with its catalogue of precooked physically accurate materials. Indeed, the item that Paolo uses to demonstrate the inferiority of DAZ Studio’s materials seems to be picked based on its virtue of being so terribly configured (possibly configured for Poser?). Even a brief beginner oriented exploration of materials would have yielded something far superior.
Paolo claims to have attempted some level of impartiality with his discussion of the merits of 3Delight and LuxRender/Reality, but to me this is very suspect. Biased or not, 3Delight is the render engine DS is integrated with and the one most users will use, so it would have been great to see working with it covered in more detail.
The last area of criticism revolves around the inaccurate way shadow maps and raytraced shadows are introduced in chapter 5. Paolo states that raytraced shadows are always perfectly crisp and that in many situation shadow maps would be preferable. After reading this section I spent some time writing in great detail about how this was terribly wrong and how raytrace produced more physically accurate results, and blah, blah, blah. I won’t bother to reproduce that information here as Paolo produces correct information in following chapters. Why not start out with correct information though?
Other than these criticisms the book is, as already stated, presented in a concise and easy to digest manner. There is no waffle, just good solid information.
Putting together a quick scene and navigation DS
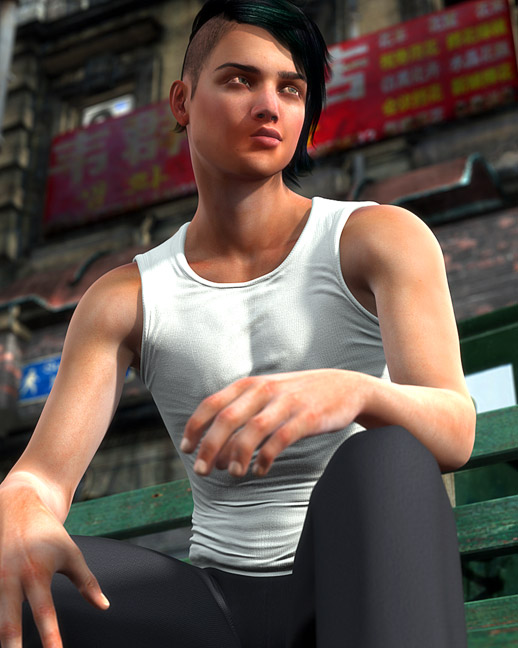
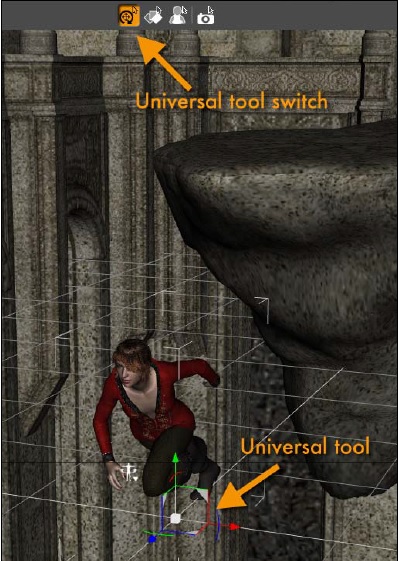 Chapter 1 introduces us to the basics of the DAZ Studio interface and how to tweak the layout for a more rapid and open workflow. We’re also introduced to loading content, Genesis, and auto-fitting clothes and hair.
Shorter shortcuts
Chapter 2 follows up on the user interface tweaks by showing us how to shorten unnecessarily long shortcuts. For me, even as someone who has been using DAZ Studio for a number of years, Paolo’s tweaks are very useful.
Posing Genesis
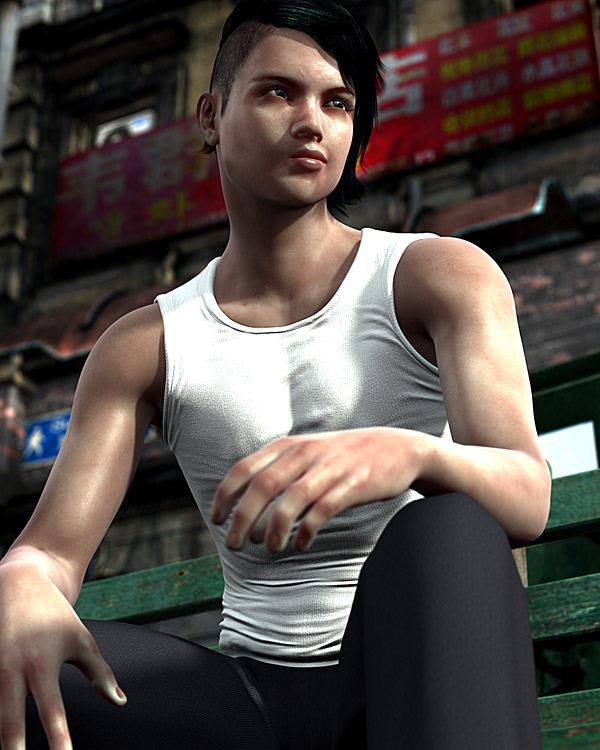
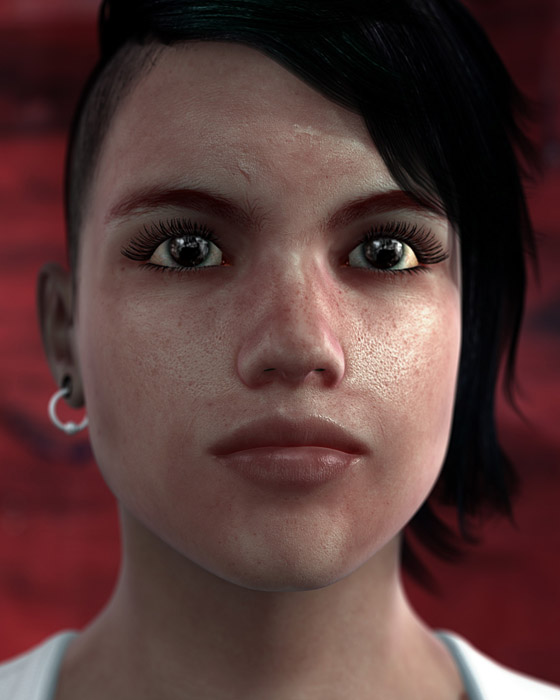
Chapter 3 deals with posing, and covers the many tools we have at our disposal for creating just the look we need. Paolo also offers up some tips for making poses look more realistic (not like rigid plastic figures). Chapter 4, a nice progression from the previous Genesis focused chapters, covers the creation of unique and interesting characters by mixing and matching Genesis based morph packages and characters.
Basic scene construction, lighting and rendering
Chapter 5, while introducing some questionable information about the properties of raytraced shadows, offers up a lot of great information on the fundamentals of lighting and composition. Paolo talks about camera positioning, lighting and the role shadows play. There is also some useful information on rendering.
Content Installation and Content Brokerages
Chapter 6 is all about finding and installing content, free and otherwise. We are taken on a good look at the big three stores that most DAZ and Poser users will visit. The information about DAZ 3D is somewhat outdated as the site has changed a good deal since this section was written. There is a section on installing content with DIM later in the book.
Chapter 7 fixes up the incorrect information about shadows introduced in chapter 5. There is a lot of great introductory information about lights and settings, cameras and adjusting depth of field and the effects focal length can have on an image. There is a lot more general 3D basics information and stuff about navigating DS in here too.
Building a Scene
Chapters 8 builds on elements already explored in earlier chapters covering scene construction, character posing, conforming clothing, fixing poke through. There is a reasonable explanation of DAZ’s default shader properties and how to edit them, but there is no demonstration of how to produce a reasonable material though. This is a shame as even the basic shader in DS can produce some nice looking metal and plastics, and depending on style, can deliver reasonable skin.
Lighting for 3D
 Chapter 9 has more detail on light as we are walked through the process of lighting a rather nice final image, so lots of good pointers here including the incorporation of some techniques used in traditional film and photography. Paolo touches on monitor calibration, a topic which any artist with a little experience under their belt will know is of significance importance. It is a shame that only software/hardware solutions (that cost money) are mentioned when simple DIY approaches, which are more than sufficient for most users, are not acknowledged.
LuxRender and Reality
Chapter 10 gives a solid introduction to LuxRender and Paolo’s baby, Reality. For those that are unfamiliar with LuxRender it is a physically based and unbiased render engine. This means it calculates light and its interaction with materials as accurately as possible/practical, and therefore produces images that are usually more-or-less accurate. Here we find out, that while physically accurate materials can be produced for 3Delight, it is an incredibly involved process. Lux and Reality, on the other hand, offer these delights from the get-go.
I felt Paolo fell far short of his stated intention for objectivity, but can we blame the guy? Reality is his baby and it is a fine bridge between DS and Lux, which in itself is an amazing piece of free software. Maybe I’m just touchy so many in the DS/Poser community seem to be buying into the myth that 3Delight can’t do realism, or that it is so terribly hard. This is not the case. Yes, creating physically accurate materials does require a lot of knowledge, but getting to that “close enough is good enough” is not so hard at all.
Regardless of any bias, LuxRender and Reality are worth considering for any DAZ Studio user. Lux is an increadibly complex and powerful render engine, and Reality does a lot to simplify the process of working with it. Though even then, Lux is not always easy to work with and does require a good deal of trial and error, visits to the forums and the Wiki.
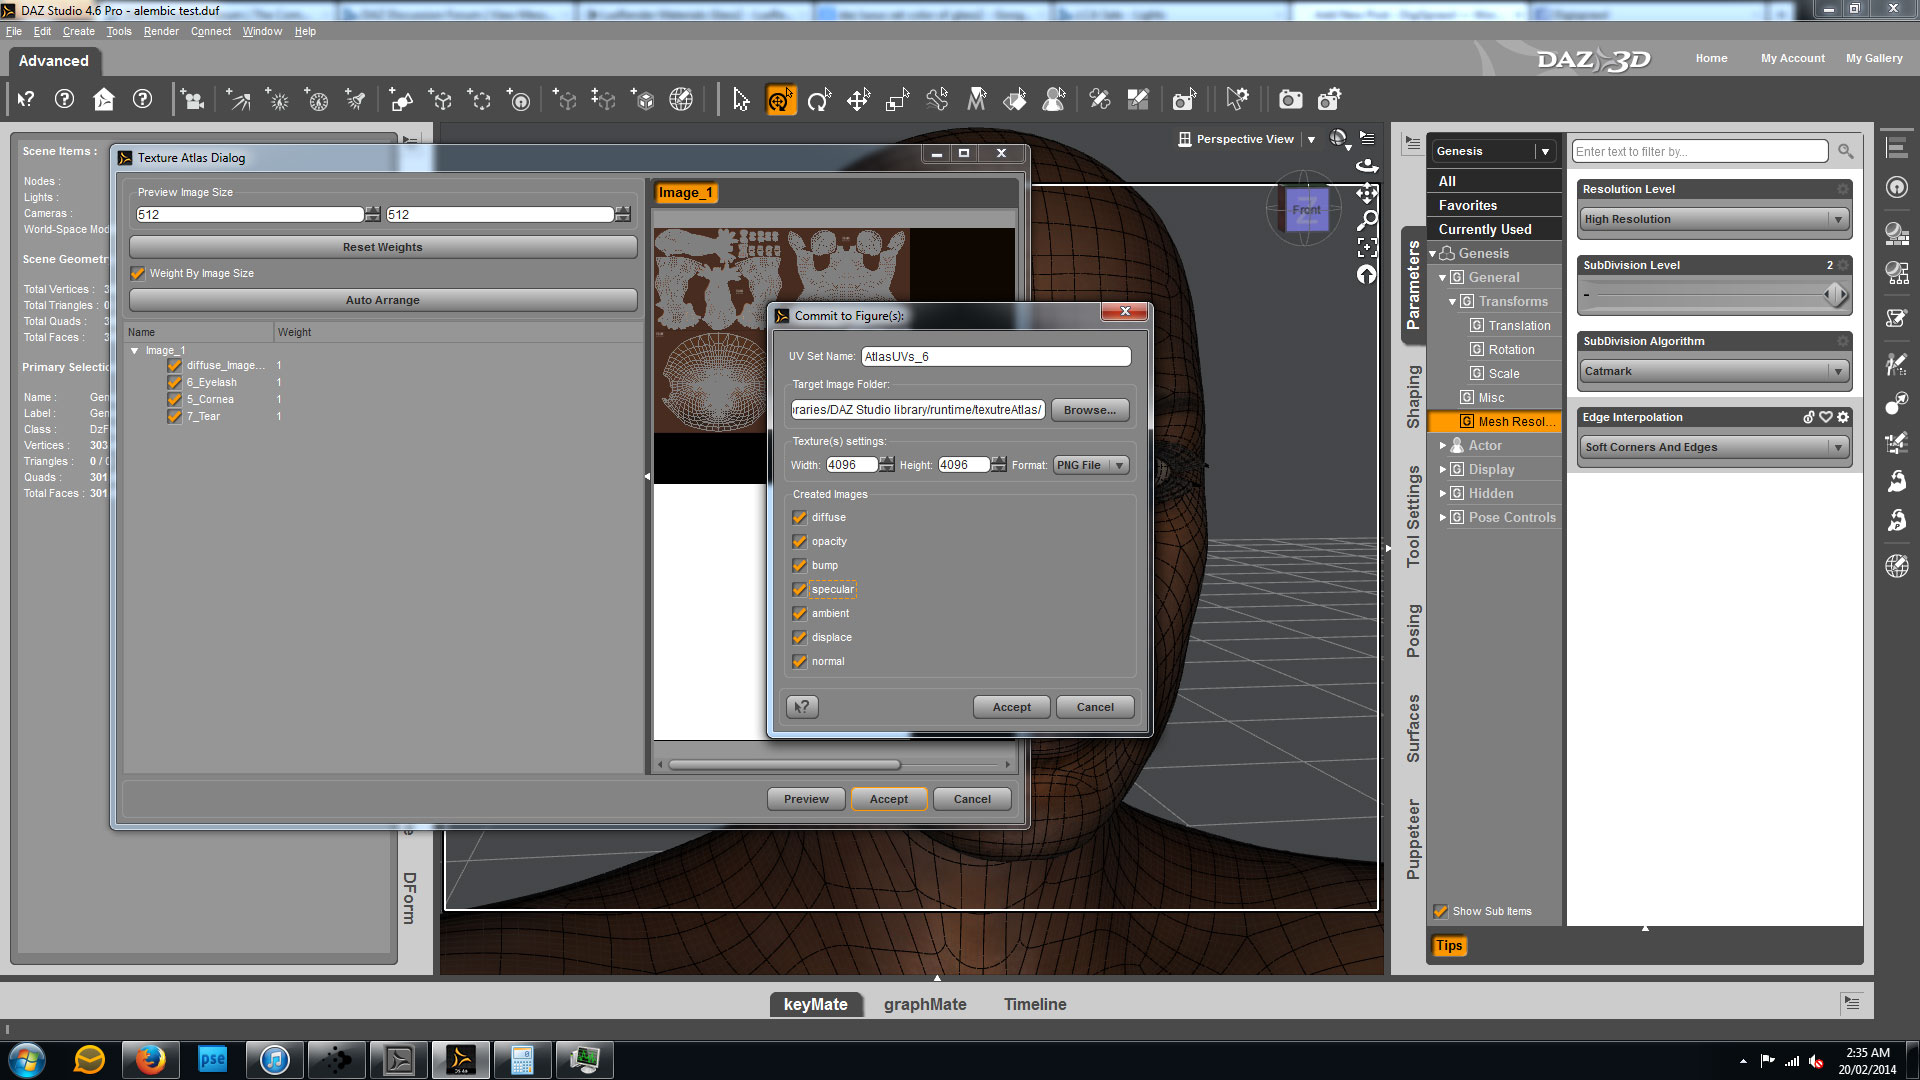
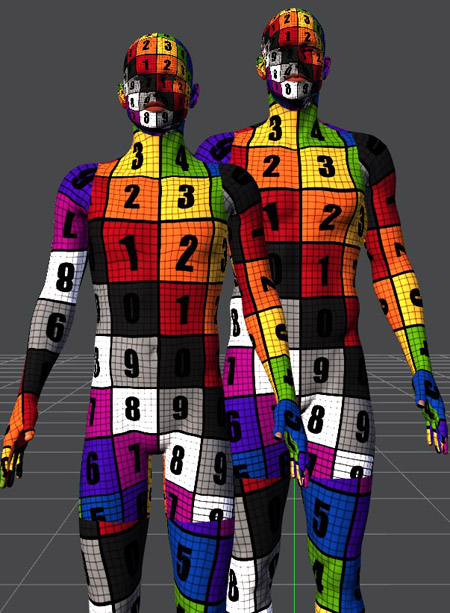
Content Creation for DAZ Studio
Chapter 11 takes us into basic content creation, from exporting a template figure (Dawn in this case) from DAZ Studio, to modelling a basic dress with Modo (complete with UV mapping), and then finally bringing it back to DS where it is rigged and prepared for use with Dawn. While Paolo uses Dawn and Modo to demonstrate the workflow, the basic principles can be applied to any weight mapped DS native figure (such as Genesis), as it can be applied to any 3D modelling software. Through this chapter we see that taking the plunge into making our own content isn’t really that scary.
Animation The DAZ Studio Way
Chapter 12 explores the basics of animation, and the idiosyncratic approach that DAZ Studio adopts. We are also introduced Keymate and Graphmate which bring some much needed tools found in more complete animation software. This chapter contains so much useful information for anyone considering a foray into animation, to avoiding common time consuming disasters, and encoding final sequences for playback.
The Complete Guide to DAZ Studio 4 – Conclusions
The Complete Guide to DAZ Studio 4, might not cover everything new users will need to know, and it has little to offer seasoned users, but it is a solid starter for any new user. This book answers so many common questions, and will shave days, weeks or maybe even months off the usual flailing about process. I would have no problem recommending the book for those new to DAZ Studio.
For seasoned users there might be a chapter here or there that offers a reasonable introduction to subjects they have not ventured into (such as LuxRender, content creation, or animation), but for those more advanced users looking to branch into a new area there might be more complete sources out there.
Available: Amazon, Kobo, Booksamillion