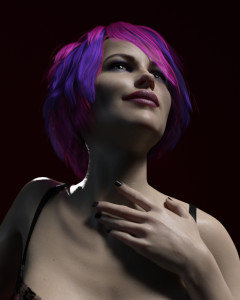
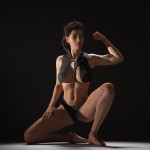
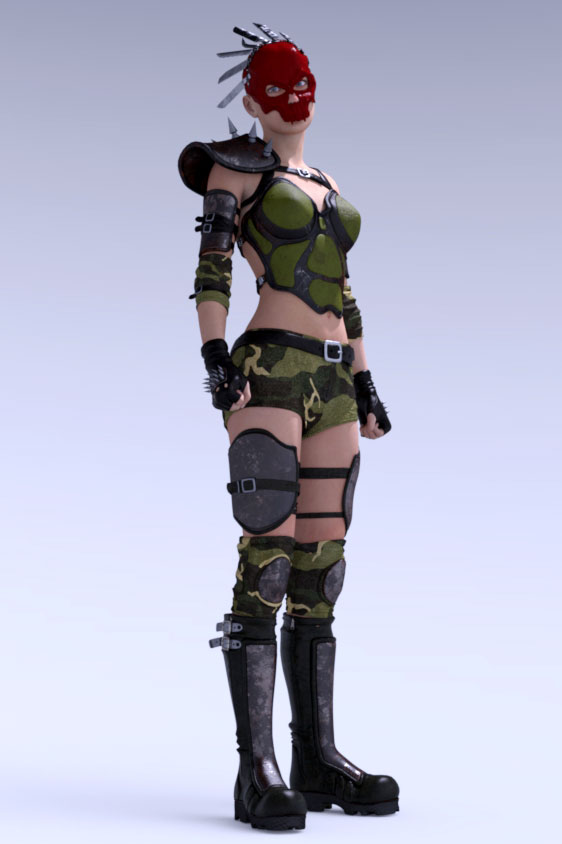
Victoria 8: an evolution
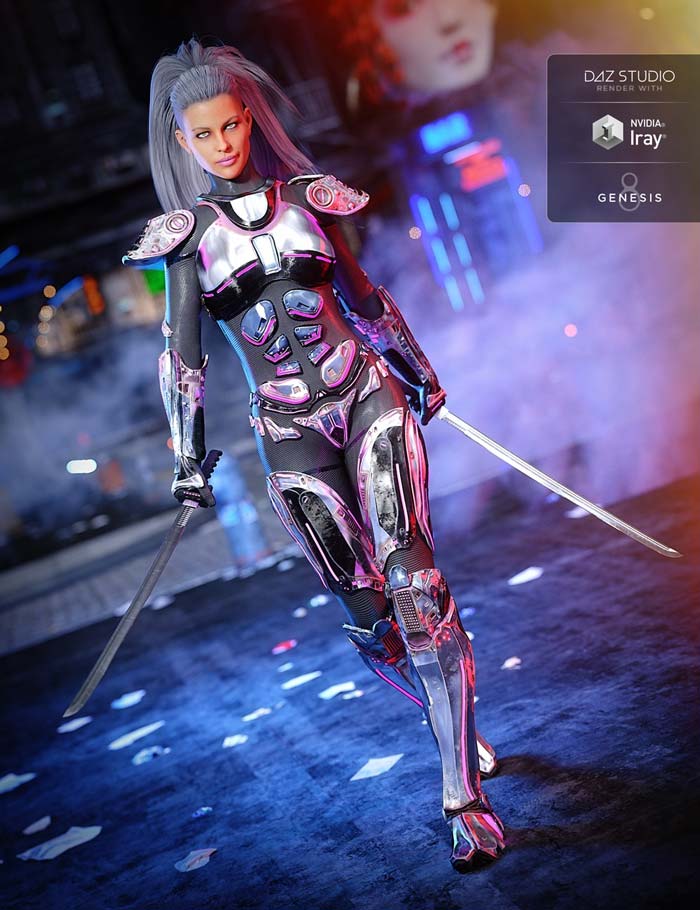
Image courtesy of DAZ 3D
Well, I’ve gone and sunk a good number of hours into playing with the Victoria 8 Pro Bundle , and I have to say I’m pretty impressed, not so much with the content of the bundle, as high quality as those products are, but with Genesis 8 Female and Victoria 8 in general. We’ll get to the content later on.
In every way, DAZ has improved Genesis 8 over Genesis 3, which was a huge departure from Genesis 2, though something of a less exciting release. DAZ has stuck with the “General” weight maps, introduced with Genesis 3, which continues DAZ’s direction of making their figures more compatible with third-party applications. Similarly, DAZ has changed the default pose, to be more current. Daz state this is meant to facilitate content creation.
For content creators, the move away from TriAx weight map is a mixed blessing. Instead of having to deal with many, many weight maps, they now have to contend with dealing with many, many JCMs, some of which will run amok and require lots of corrections.
Genesis and Victoria 8 aren’t a revolution over the previous generation, but it is a very nice evolution. The default Iray materials are a significant improvement, and incorporate new additions to DAZ Studio’s Iray Uber Base.
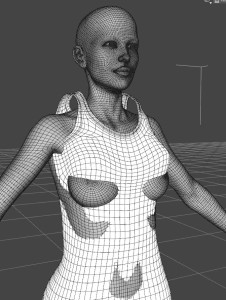
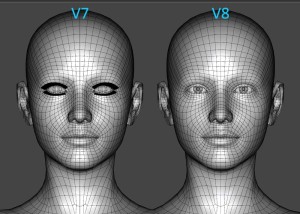
Genesis 8 base mesh
Inspecting the geometry, and comparing Genesis 3 and Genesis 8 side-by-side reveals they are cut from the same mesh. G8 is slightly lighter on the poly count, coming in at roughly 16.6K vertices, vs G3’s 17.4K, which again was less than G2’s 21.5K.
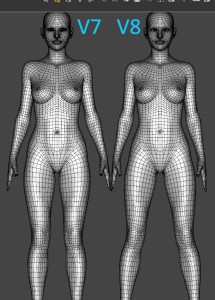
Arguably, and not without merit, Genesis 2’s mesh offered the most physically accurate base of any of DAZ’s figures to date, but along with that mesh comes a very hard, and toned figure. The mesh offered clear muscle boundaries, and deforms very nicely with the TriAx weight maps, but perhaps as a general base, from which to build new characters, the mesh is too specialised. Some areas of the mesh were messy and perhaps, needlessly intricate.
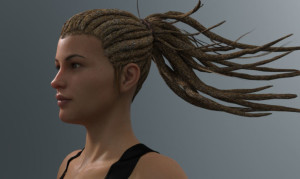
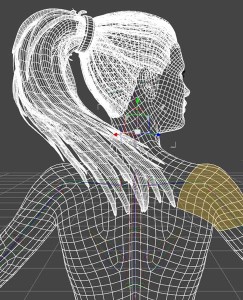
Genesis and Victoria 8 continue the simplification that Genesis 3 introduced, and while the meshes have been getting smaller, DAZ has clearly been working hard to refine a figure that offers a compromise of detail and simplicity. Many areas of the G8 are much improved over the predessors, including G2 (the figure I have primarily worked with up to this point). The shoulders and neck of Victoria 8 are a nice example of these improvements.
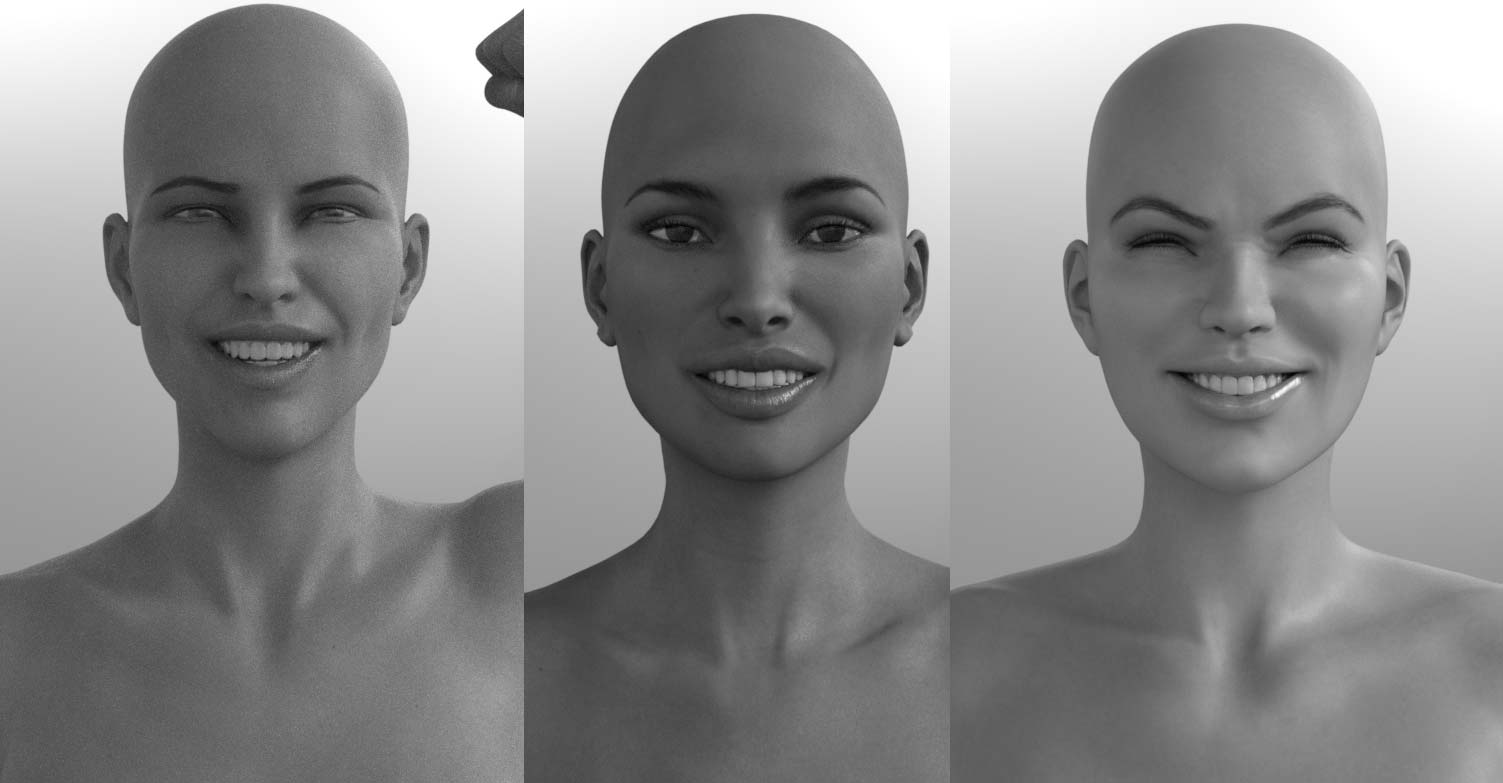
Left to right: V8, V7, V6. Victoria 6 wins the cute award, but V7 shows better and finer details, particularly with expression morphs. V7 apparently never learned how to smile.
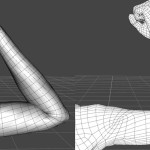
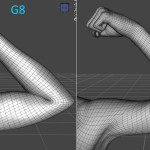
Genesis 8 muscle flex and more realistic joints
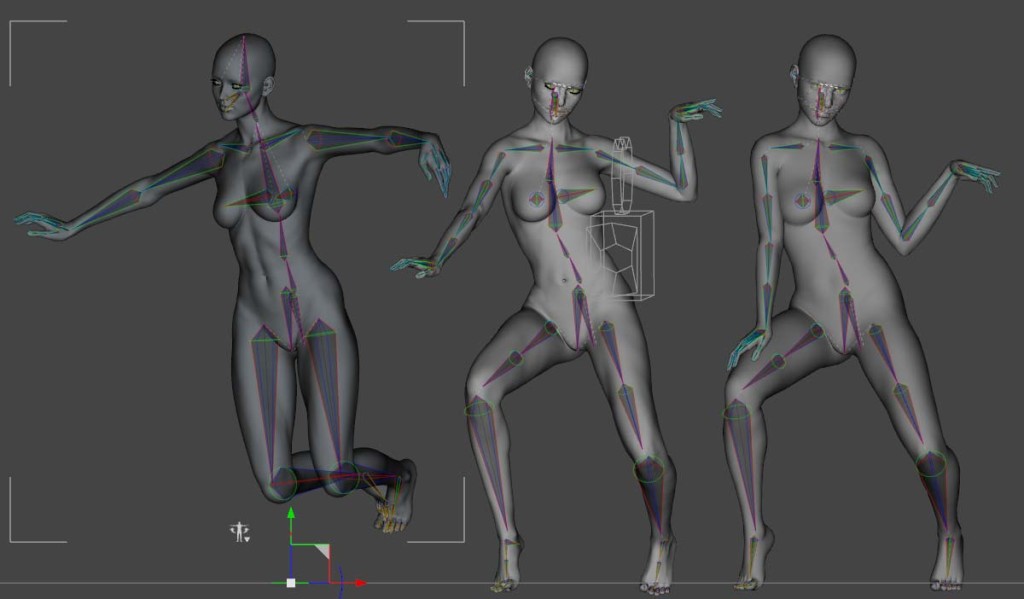
For me, this is one of the biggest changes for Genesis 8. With each figure iteration, DAZ has been working on improving the realism of joint deformation, and with the new muscle flex JCMs in G8, the figures are looking better than ever. I did a quick bicep flex comparison between Victoria 8 and G8 and found that the morphs are present in both figures (which logically flows), though V8 has a more nicely defined and significant bicep bulge.
I also tested the bicep flex between Victoria generations and found, unsurprisingly, that V8 does have the best bulge. In the past this was something that DAZ’s Published artists would create products to achieve, and they probably will still do so. There is always room to improve the base figure and morphs.
Below are demonstrations and comparison of bicep bulge, or lack there of. The first image also makes use of the Head and Body Morphs.
Genesis 8 and Victoria 8 backwards compatibility
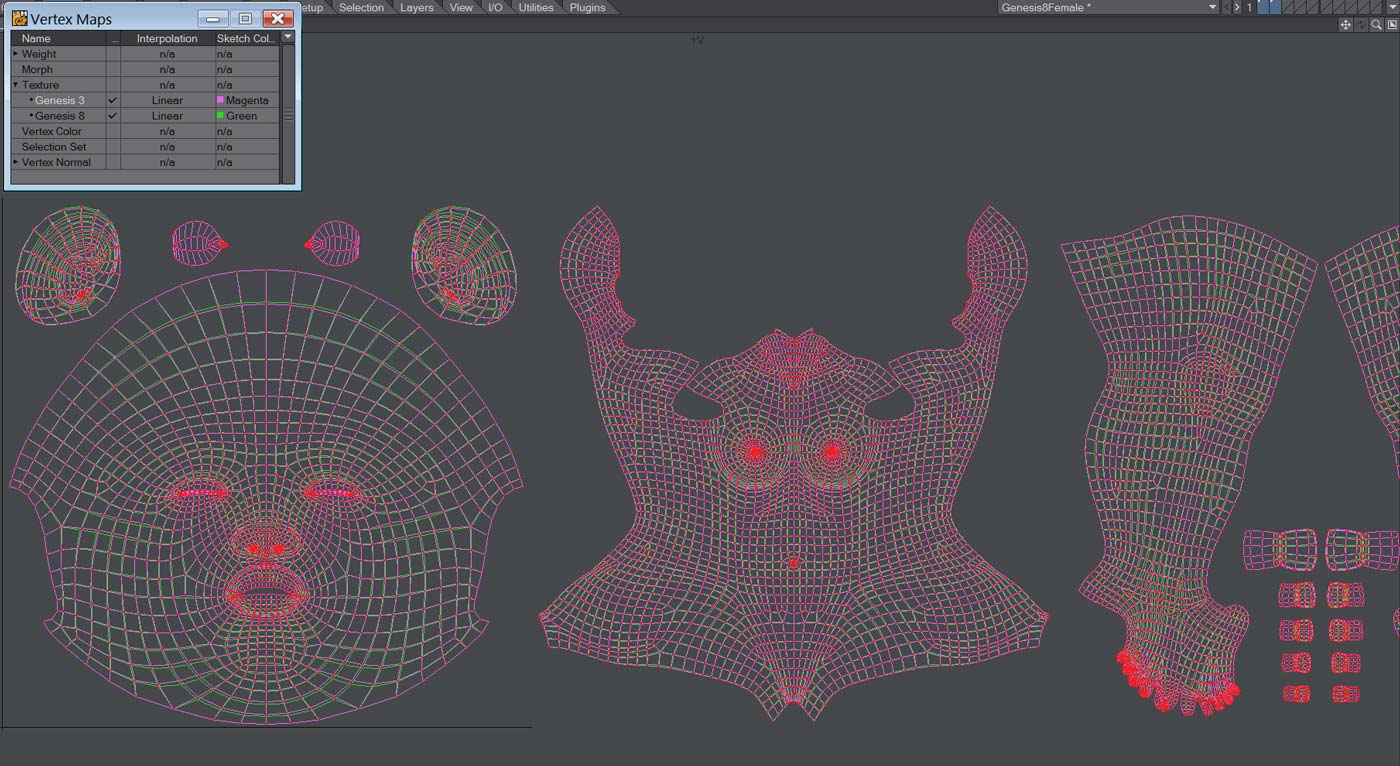
Texture compatibility
Genesis 8’s UVs are almost identical to Genesis 3’s. Overlapping them in LightWave we see this quite clearly. The biggest deviation is the eyelashes (not shown here). With G8 the eyelashes have been moved to a separate mesh. Seemingly, reversing this direction, the finger and toenails have been welded into the base mesh. I’m not sure of the reasoning behind these design tweaks, and I’m not going to speculate and risk being horribly wrong (that would be embarrassing).
 The benefits of having such closely matching UVs are obvious: once again, DAZ has given us the option to use the textures of the previous generation figure, something that they were heavily criticised for breaking with Genesis 3. So while we don’t have out-of-the-box texture support for G2, or older figures, at least we can keep our favourites from the previous generation (assuming you adopted G3).
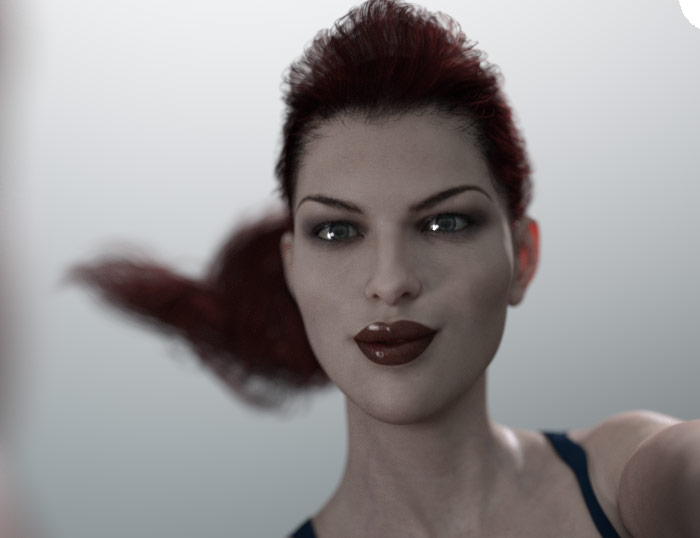
My rather pasty reworking of a Victoria 7 character texture set on V8.
Also on the topic of UVs and texture compatibility, the genital geograft prop that come with the Pro Bundle of Victoria 7 and 8 share identical UVs. I only got to check this out because I got the V7 Pro Bundle included in the purchase of V8 (nice!).
Genesis 8 hair and clothes compatibility
Whereas texture compatibility is limited, hair and wardrobe compatibility is much more extensive, though, as with previous generations, still subject to the limitations of the Autofit Tool. Where Genesis 3 offered us compatibility with G2 content (extended with further scripts), G8 gives us compatibility all the way back to Genesis. There is little doubt this will be expanded (by PA add-ons) to include Generation 4 figures such as Victoria and Michael 4.
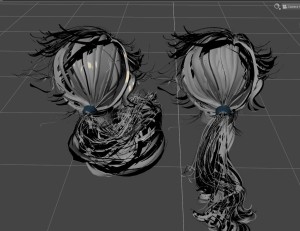
Hair
Autofitting hair from previous generations does a nice enough job, and will generally keep most morphs, though additional rigging is lost (a disappointment we have all come to live with). It is a little perplexing to see morphs disappear from the shaping tab, but generally, these morphs can also be found in the parameters tab. Some longer hair props could use some additional work on their weight maps to get them working at their best. There are some work arounds to fit hair, and keep the additional rigging, though this might be a topic for a future tutorial.
Wardrobe
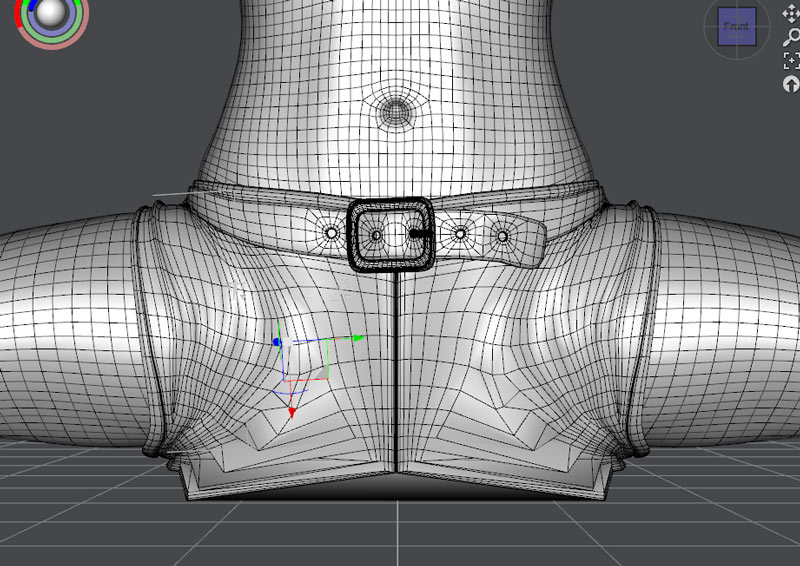
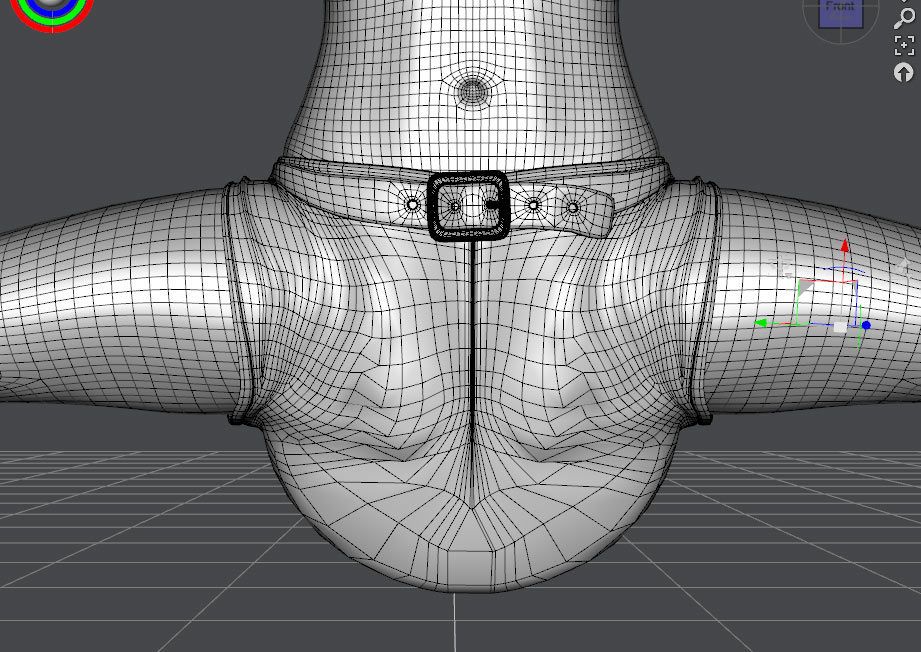
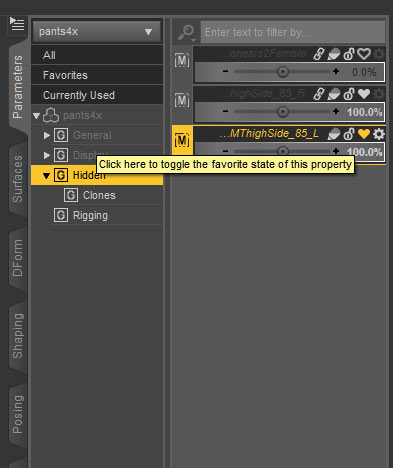
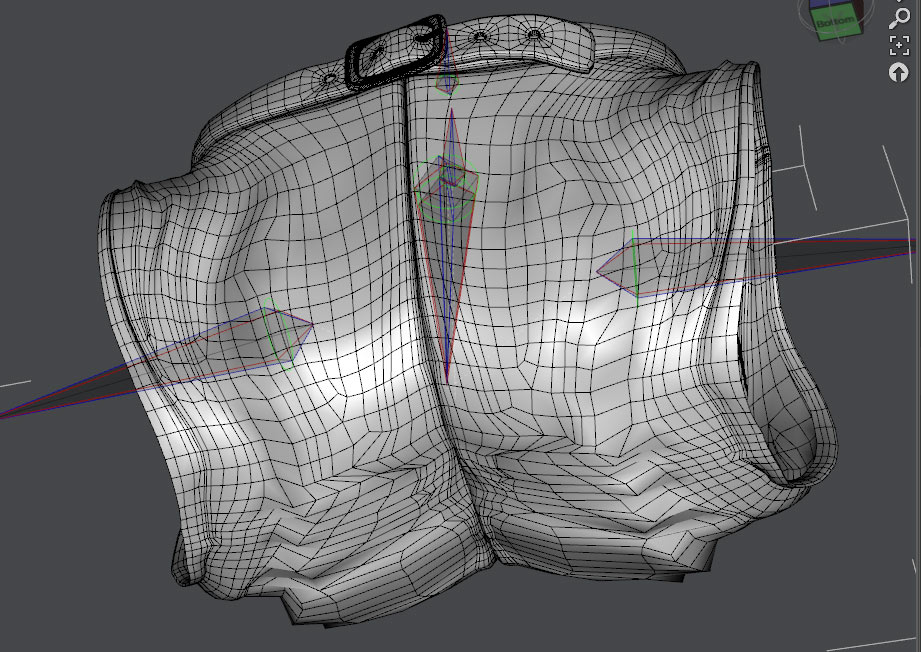
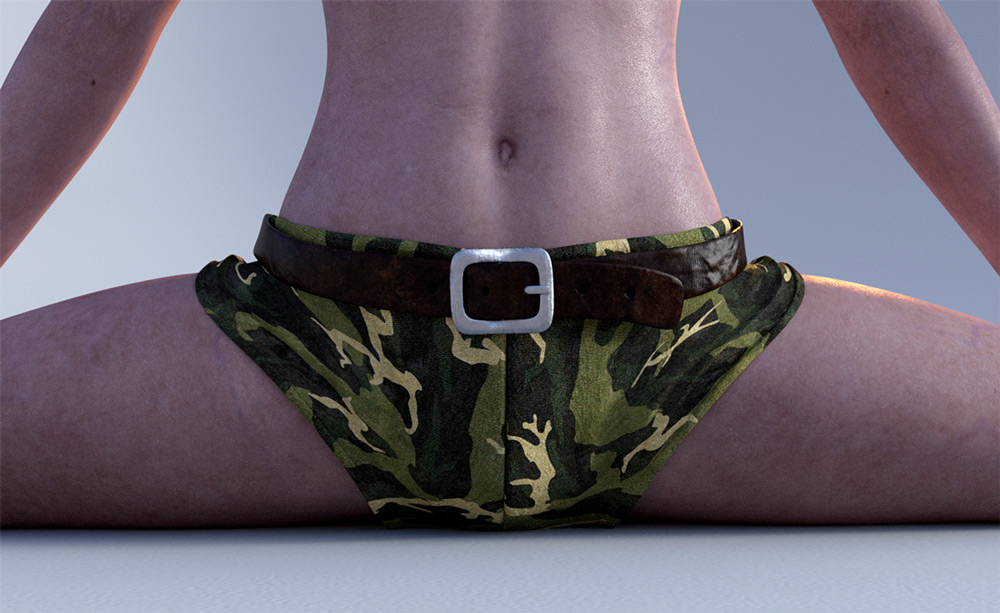
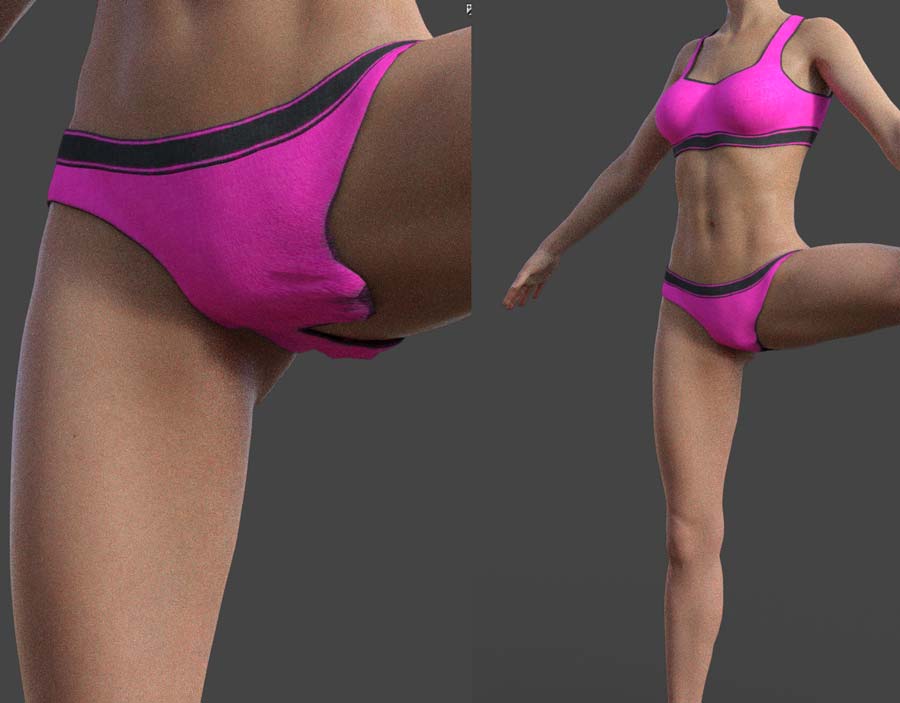
We are all familiar with this process by now, and generally we know what to expect. Items, like panties, tend to get trashed when they are converted from one figure to another, as are details of pants, such as belts, buckles and pockets. Some of these issues can be fixed with a simple smoothing out with the weight brush.
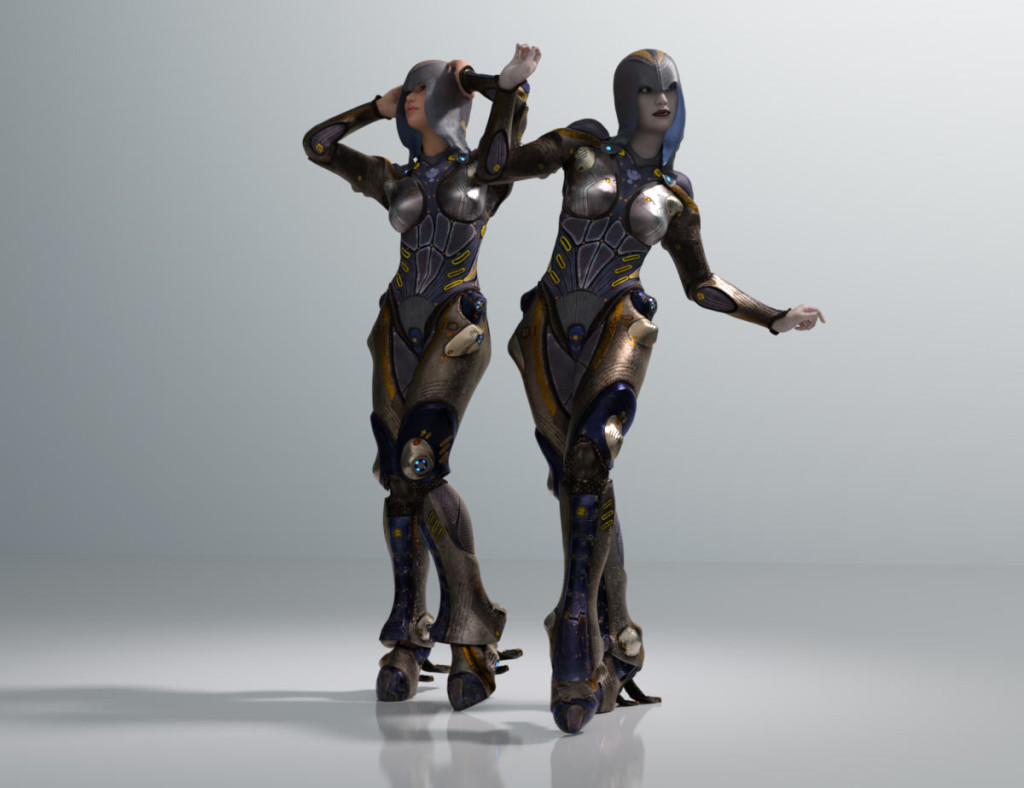
Tau Ceti Overseer native fit on Victoria 6 (right), and Autofitted to Victoria 8 (right).
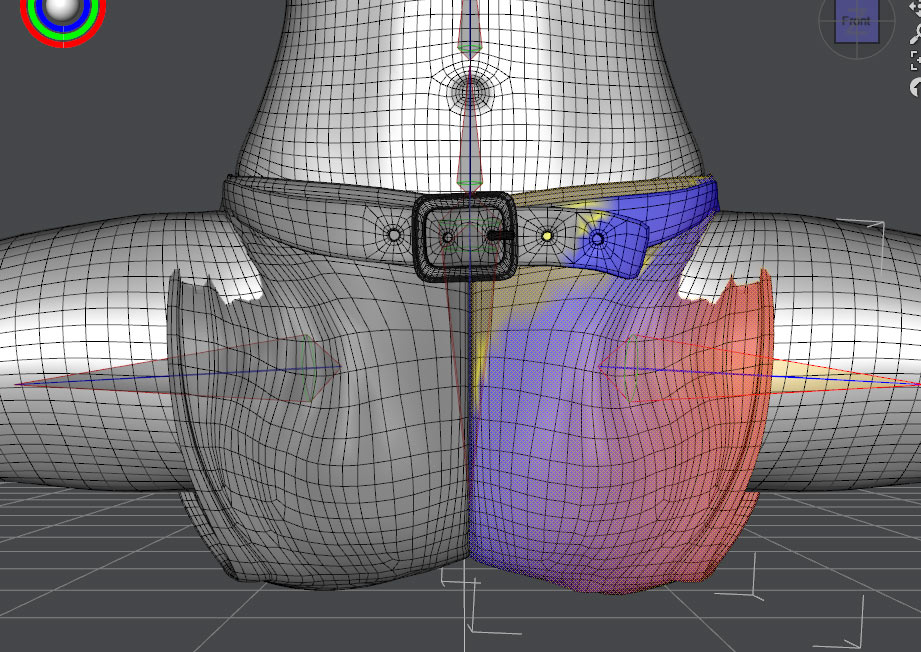
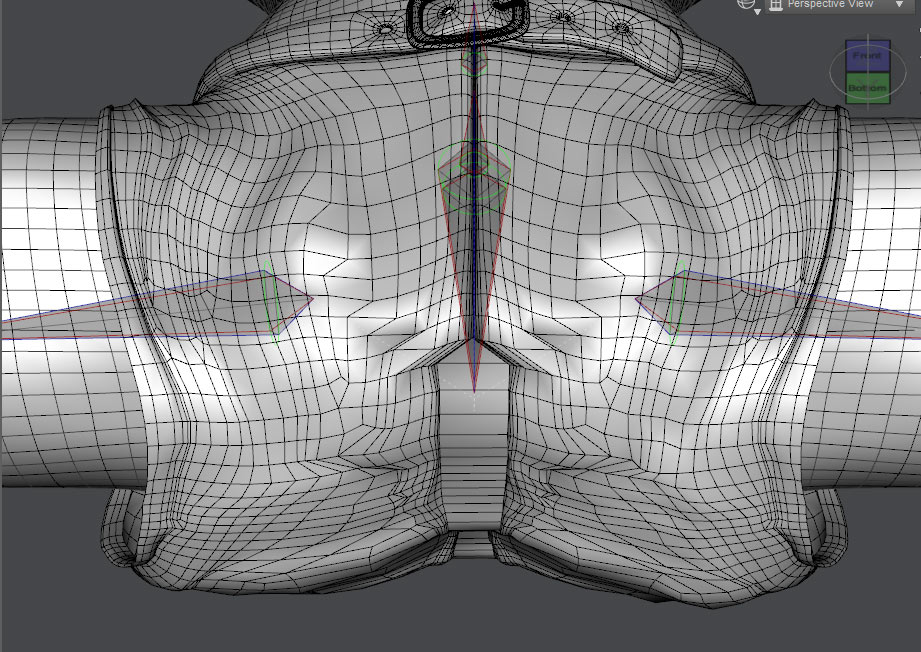
Generally, the more extreme a pose the more we will come up against the limitations of Autofit. A pair of pants, for example, might look fine with a walking pose or animation, but when crouching, where the legs are bent up quite far and to the sides, distortion in the crotch is likely to be quite noticeable. Luckily, for those that don’t want to get into weight mapping and morphing, lighting and textures can hide a multitude of sins.
G2 item autofitted to V8 (left). Quick weight painting fix (Right).
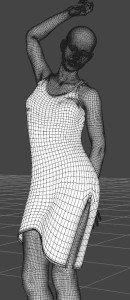
Long dresses and skirts tend to suffer more than a lot of other items when converting between figures, especially for ones that include additional rigging to control the flow of the longer fabric. Again, there are work arounds for retaining the rigging, but that goes beyond this review.
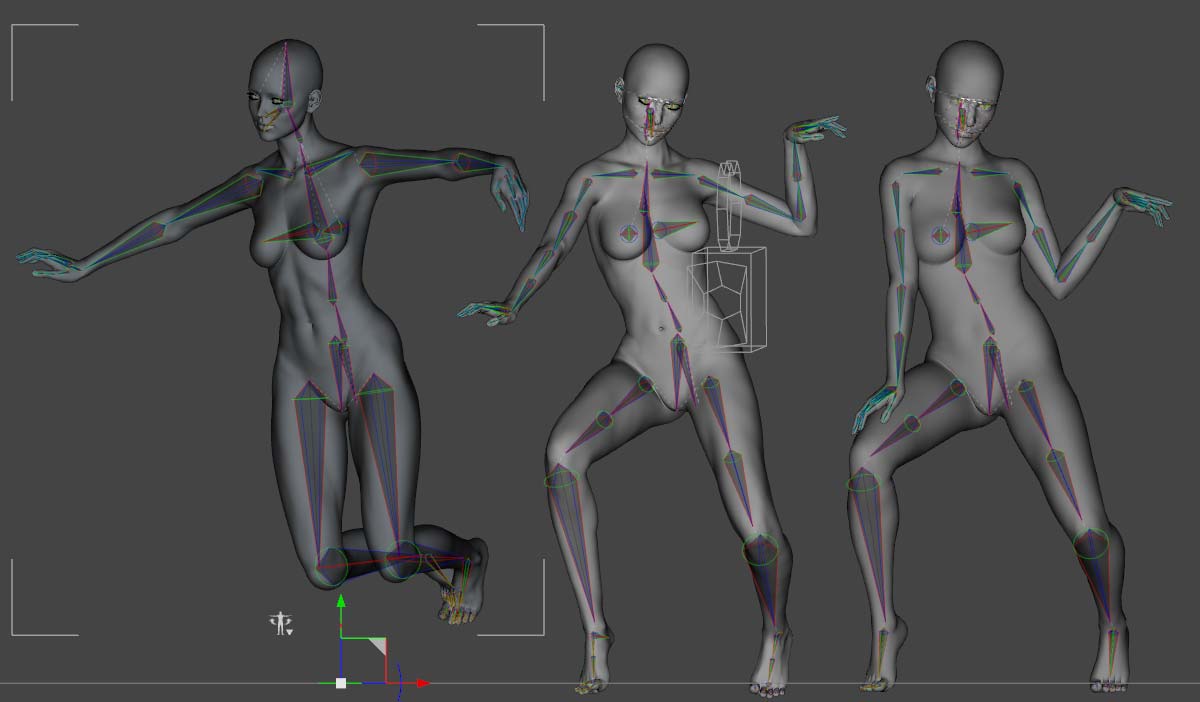
Poses
Genesis 8 backwards compatibility with poses is limited, but there is some functionality. I found that the arms were the least responsive. At best you have a horribly butchered base to work from, at worst you’ll be rolling on the floor laughing (which is actually good). The key is to have low expectations in this area.
I found that there was actually greater compatibility between G2 to G3 poses then there was from G3 to G8.
The inverse is also true. G8 pose on V6 (left), V7, V8 (right)
Victoria 8 Pro Content
 One of my biggest criticisms of DAZ’s Pro Bundles, from G2 through to present, is that other than additional content (which while good quality, is obviously consumer oriented) and genitals, there is nothing to distinguish the starter and Pro Bundles. There is no extended functionality, which one expects from the title “Pro”.
My memory could be faulty, but I seem to remember the original V5 and M5 bundles coming with the Evolution Morph Bundles, which included the head and body morphs. I have gone and looked, and they aren’t included, so it might just be my faulty memory after all… To me, giving the Pro bundle some more flexibility would make it a truly “Pro” bundle, hell let’s get carried away and throw in HD morphs while we are adding stuff to the wish list.
This is not to diminish the value of the Victoria 8 Pro Bundle. The content, as always, is top shelf stuff, and this time we have a great mix of contemporary, sci-fi, and fantasy themes. The included hair is of particular note; both offer a lot of detail and a high realism quality, which is always very welcome. The Voss hair comes with the Starter Bundle, and the Vertigo Ponytail comes with the Pro set (the starter set being included in the Pro set).
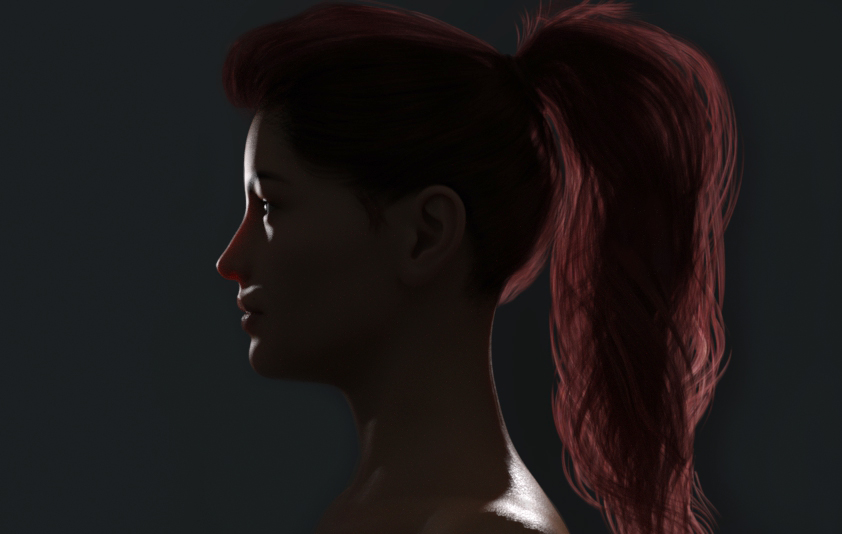
FW’s Rebekah HD with Vertigo Ponytail.
The content I was particularly interested in added up to over $150, so right off the bat the Victoria 8 Pro Bundle is already worth it, especially if you are getting it at the opening discount price, and more-so if you are a Platinum Club member (which unfortunately I’d let slip). So clearly, my criticism isn’t so much about value, it’s more of a petty (I’m big enough to admit it) disagreement of the definition of “Pro”.
Victoria 8 yay or nay?
And that’s it! That’s my review of Victoria 8. I like her. I think she’s a good and valuable evolution in DAZ’s line of figures. She offers greater physical accuracy with the new muscle flex JCMs. While some are mixed on whether a more general, less detailed base figure is better or worse, or whether moving to a JCM dominated figure is better or worse, DAZ manages to offer an improved figure that offers a good compromise which expands its utility to more users.
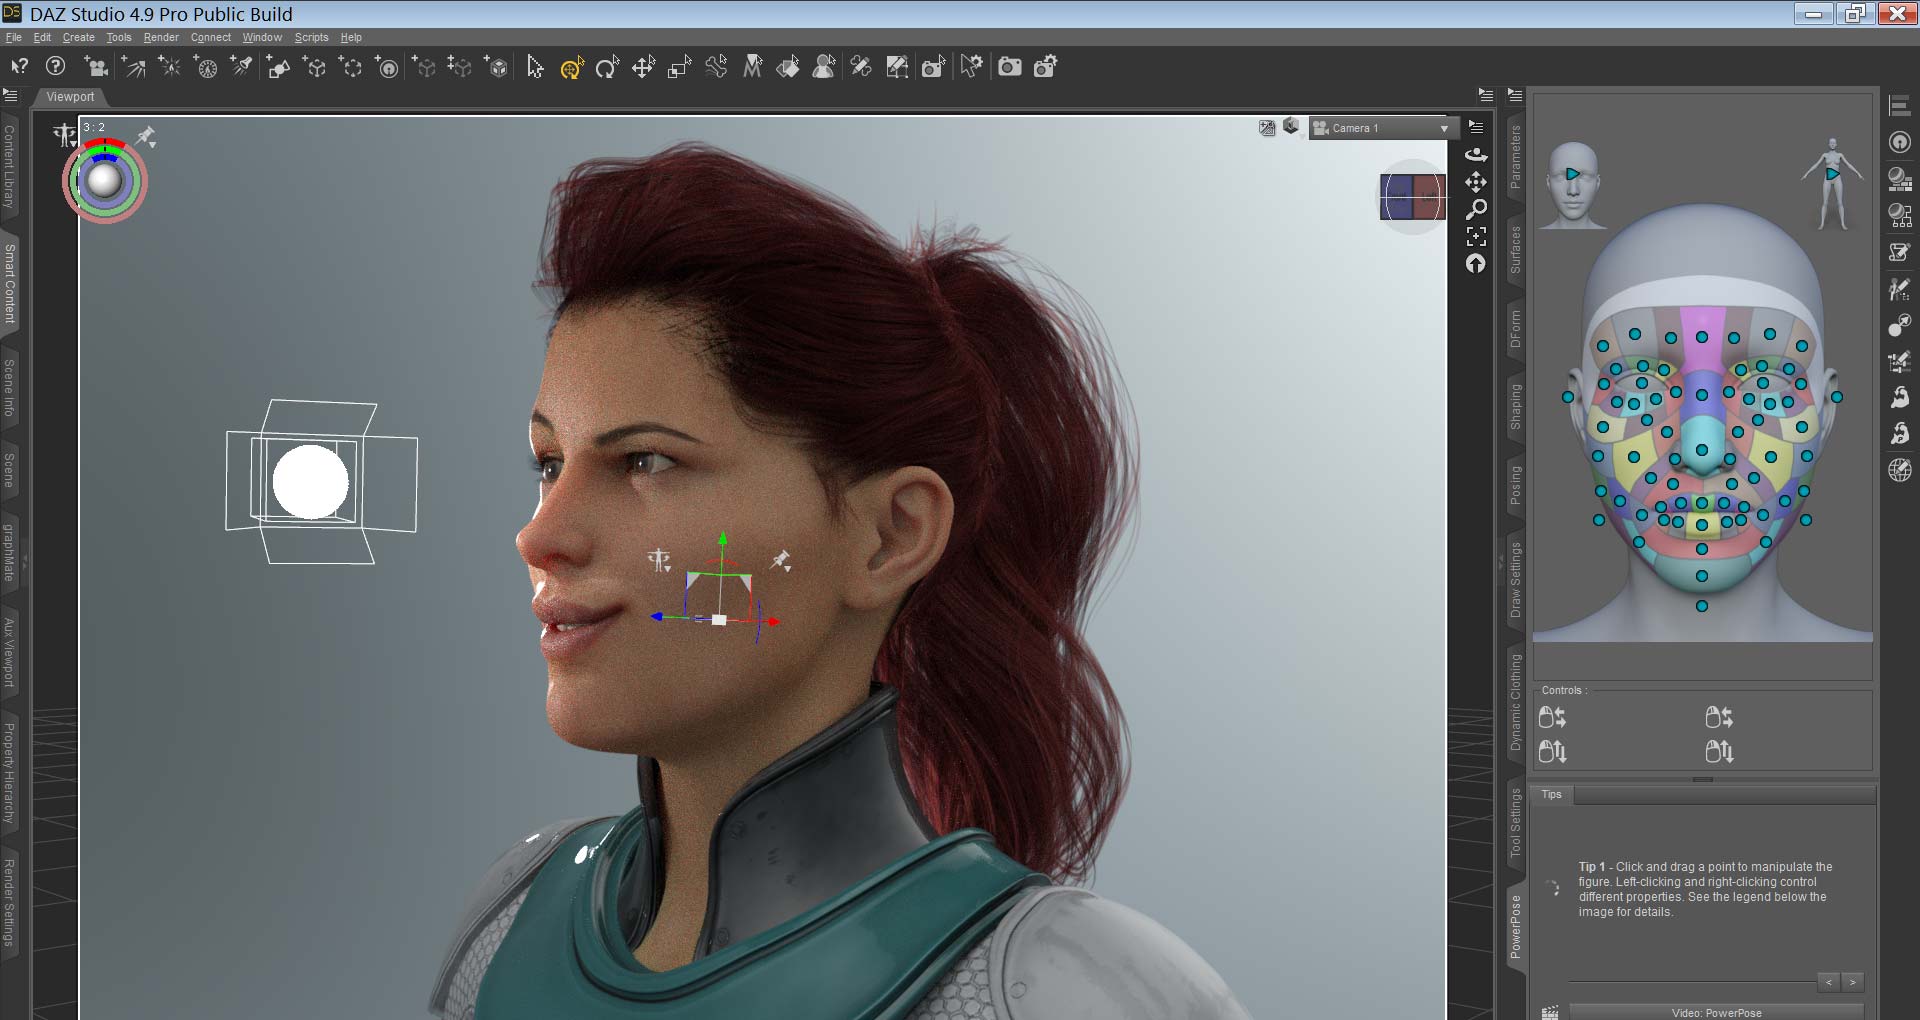
PowerPose
…I realised I hadn’t talked about the update to Power pose, and the new template for Genesis 8. It’s a great addition to Genesis 8, and a long overdue update on DAZ’s behalf. It can be a little counter-intuitive and awkward, but it is a worthy tool that is worth persevering with and developing a feel for.

Subscribe for notifications on news stories, reviews, and tutorials as they come out