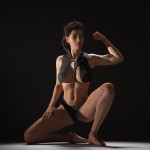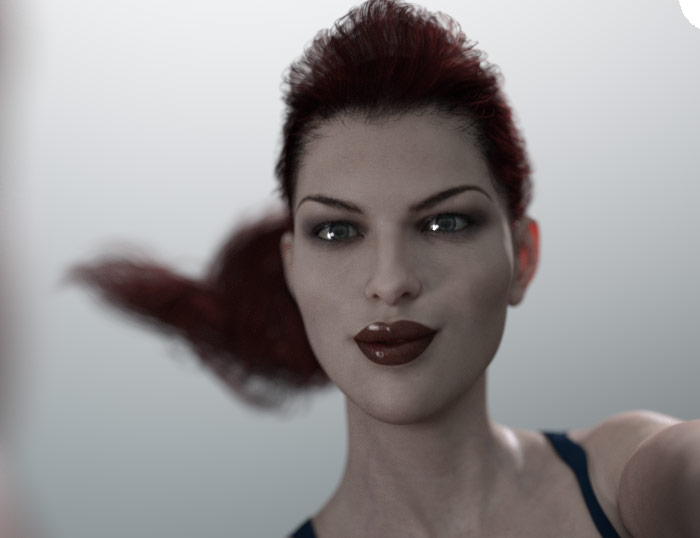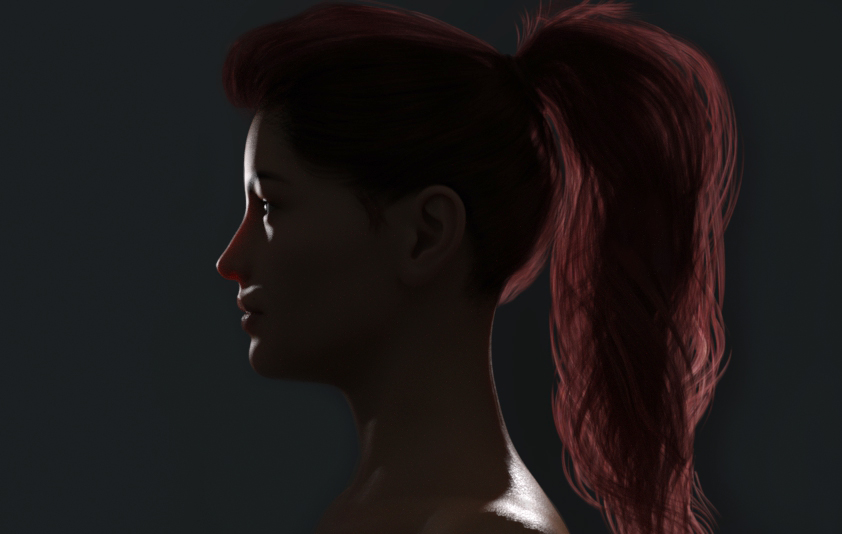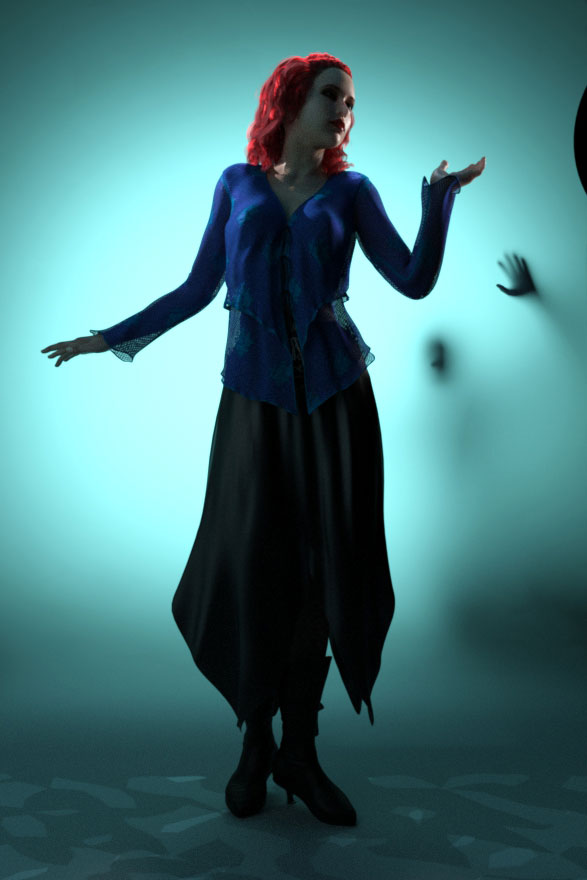
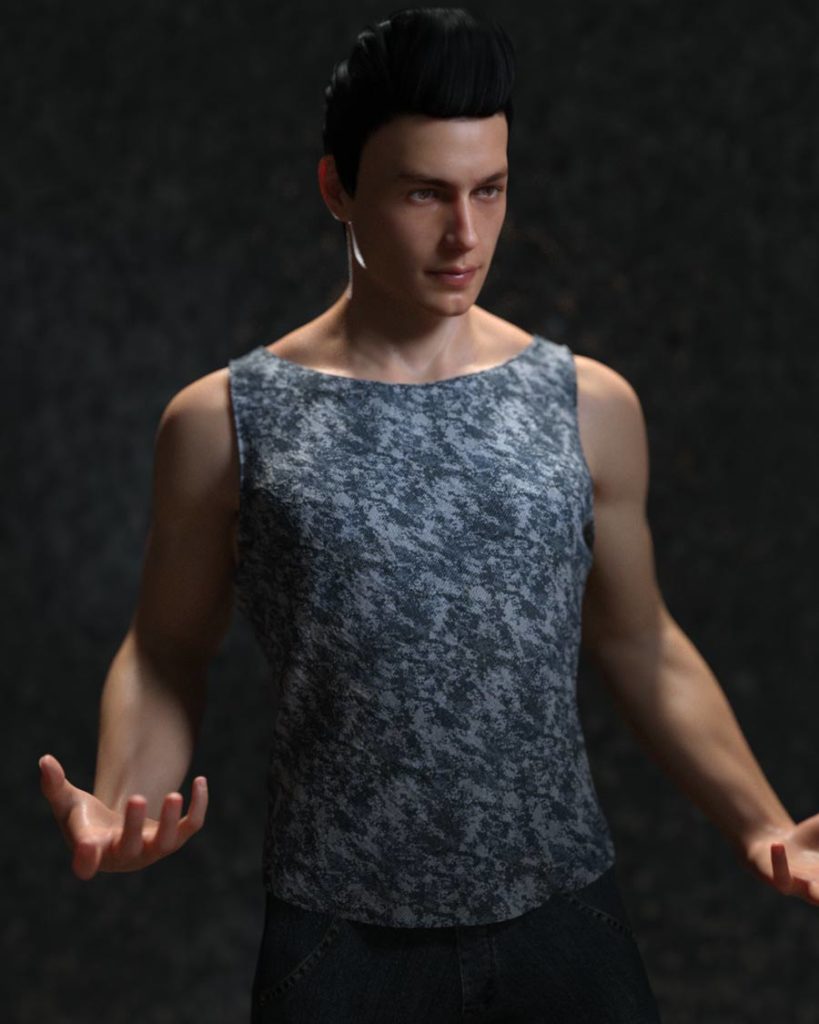
Michael 8 – Iray render. Shirt modeled in LightWave.
And here’s Michael 8, surprisingly early! With the previous Genesis figures DAZ, made us all wait several months between Victoria and Michael releases, but this time around it has been about two. What does that mean? I don’t know, but really, who wants to wait?
Actually, last Genesis release cycle I completely skipped over the Michael 7 – didn’t even install G3M (was a low DAZ Studio usage period). For most people, Victoria is the main event, and I see this in the reader statistics, but I have a journalistic duty to do this (queue dramatic music). Really, I’m doing it as an exercise to keep blogging and share what insights I have gleaned from a little time with the new figure.
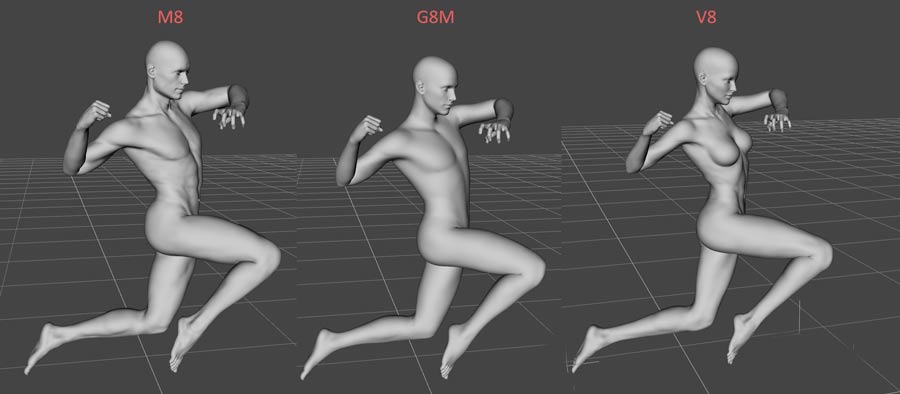
Comparing Genesis 8 Male and Female
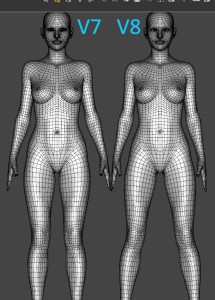
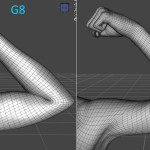
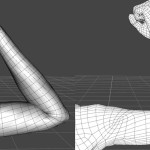
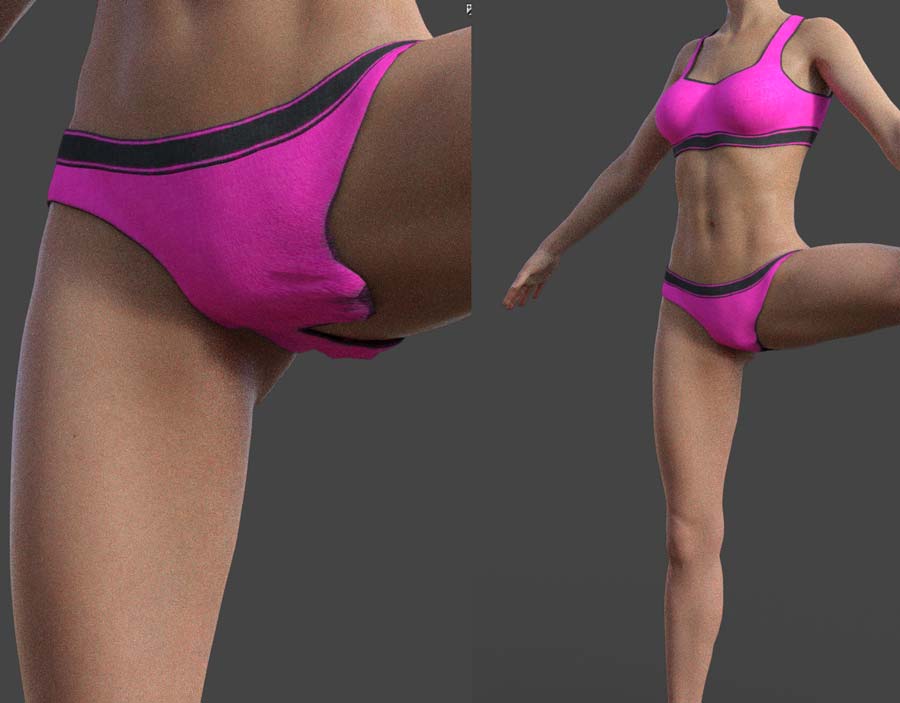
As with all Genesis figures, Michael 8 and Victoria 8 are functionally almost identical. The characters come from the same base mesh, though V8 has around 200 more vertices. At least some of the difference in poly count is in the chest. Victoria/GF has some nice edge loops to support her feminine endowments – these are absent with Michael/GM. Other than these differences the two figures share the same major topographical features.
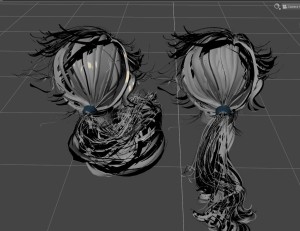
-
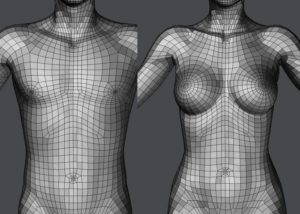
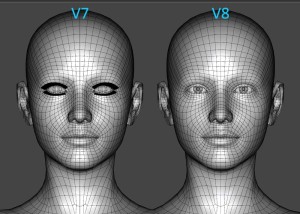
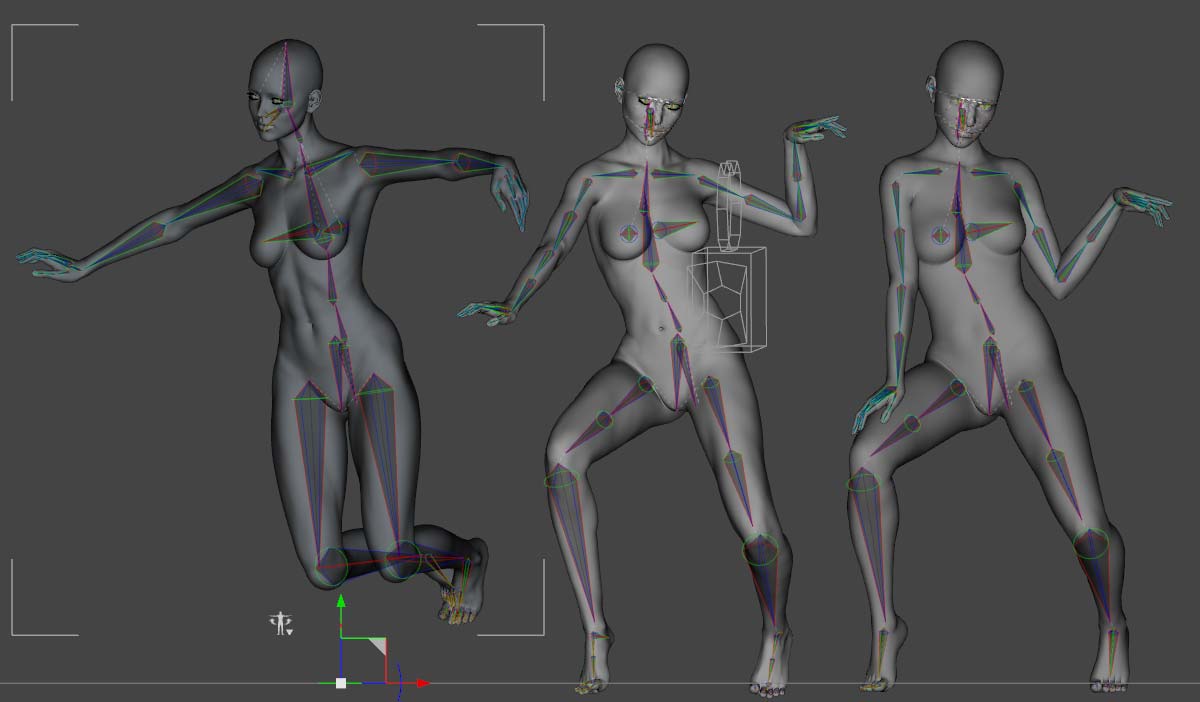
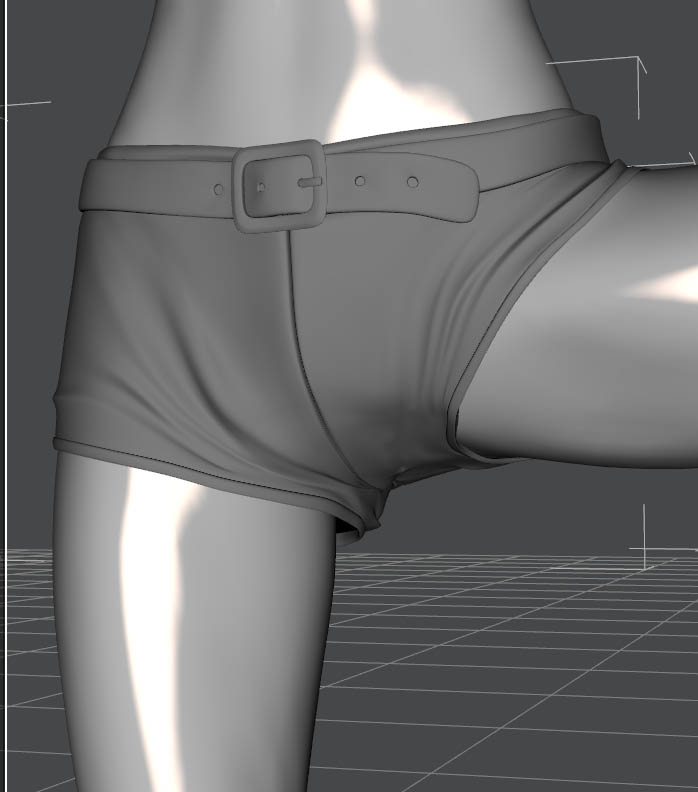
- Michael 8 vs Victoria 8 topology.
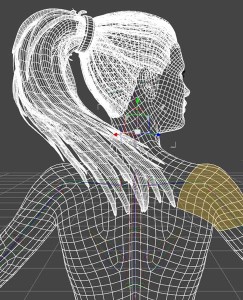
-
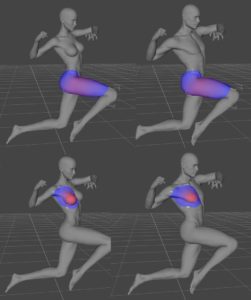
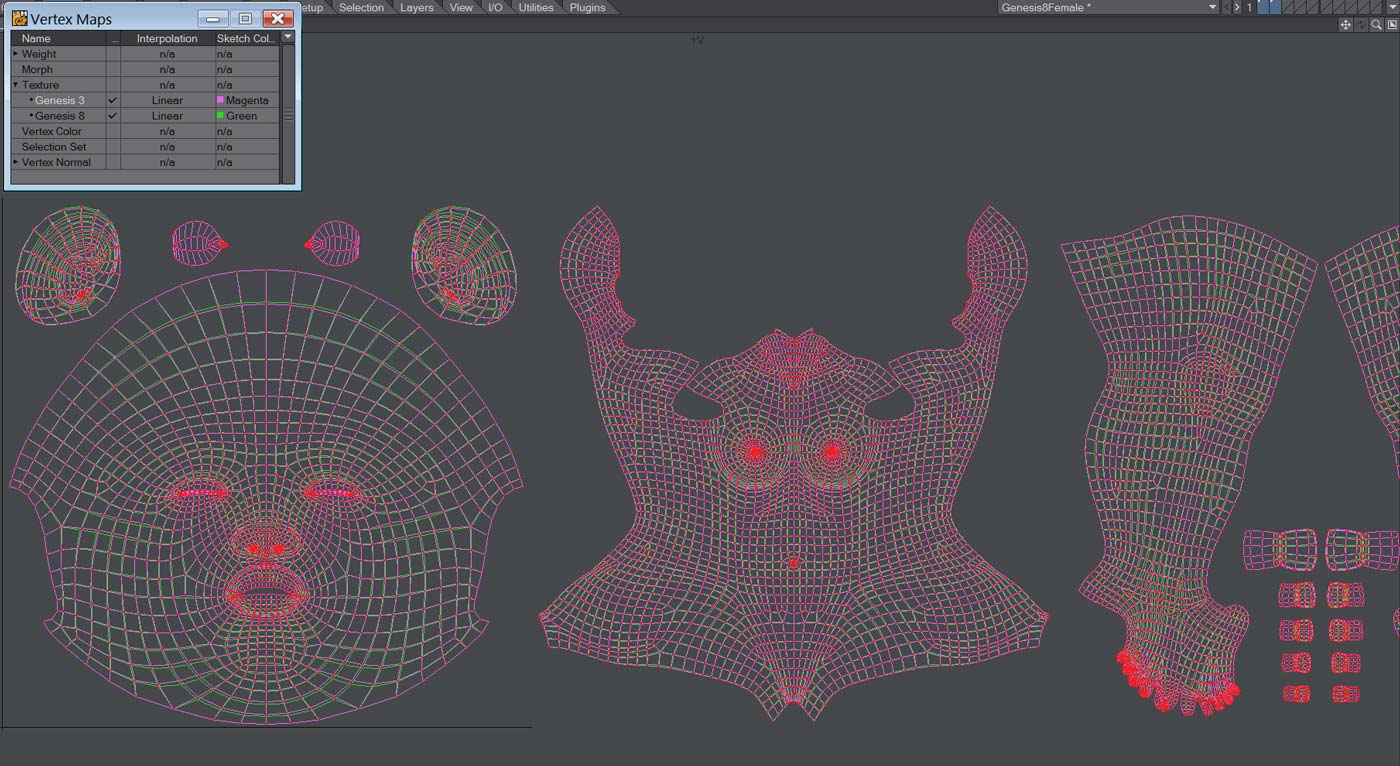
- Michael 8 vs Victoria 8 weight map comparison
Weight map configurations are very similar, again, the chest area seems to be the major difference, even if only subtly so. The configuration of JCMs that control the deformation of joints and muscles appear to be the same between the two figures, though are likely specifically tweaked.
With all these similarities in mind I’d suggest the Victoria 8 review for more detailed information on the updates introduced with Genesis 8.
Michael 8 compatibility
Like with Genesis 8 Female, I am assuming that Genesis 8 Male/Michael is backwards compatible with textures sets created for the previous generation. I didn’t have any M7/G3M texture sets installed, so I didn’t test it out.
 Unfortunately, M8/V8 texture sets aren’t interchangeable out of the box, though there is a product by SloshWerks that allows for this. Similarly, texture compatibility with generations previous to G3 is not supported, though again, it is likely that there will be a product in the works to open up more options.
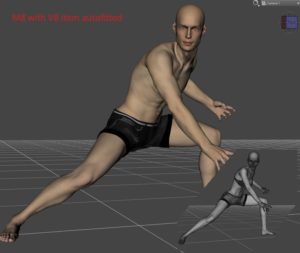
As with V8, Michael 8 offers autofitting compatibility back to Genesis. See Victoria 8 review for full details.
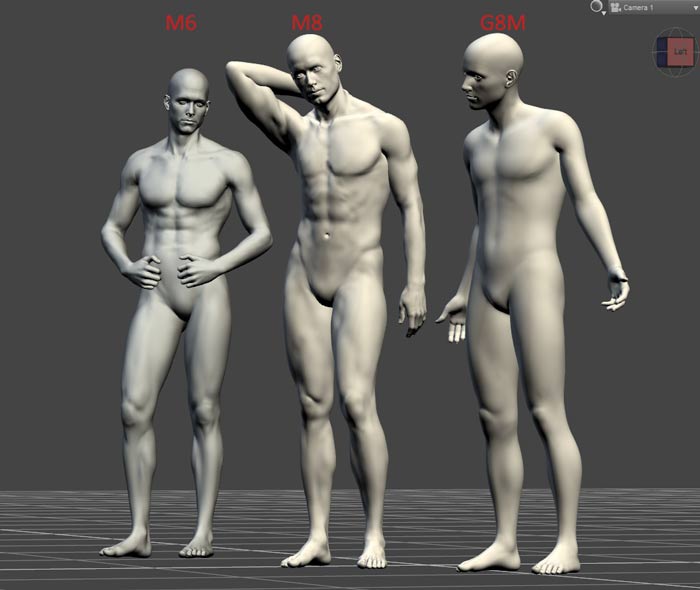
Michael 7 vs Genesis 8 Male
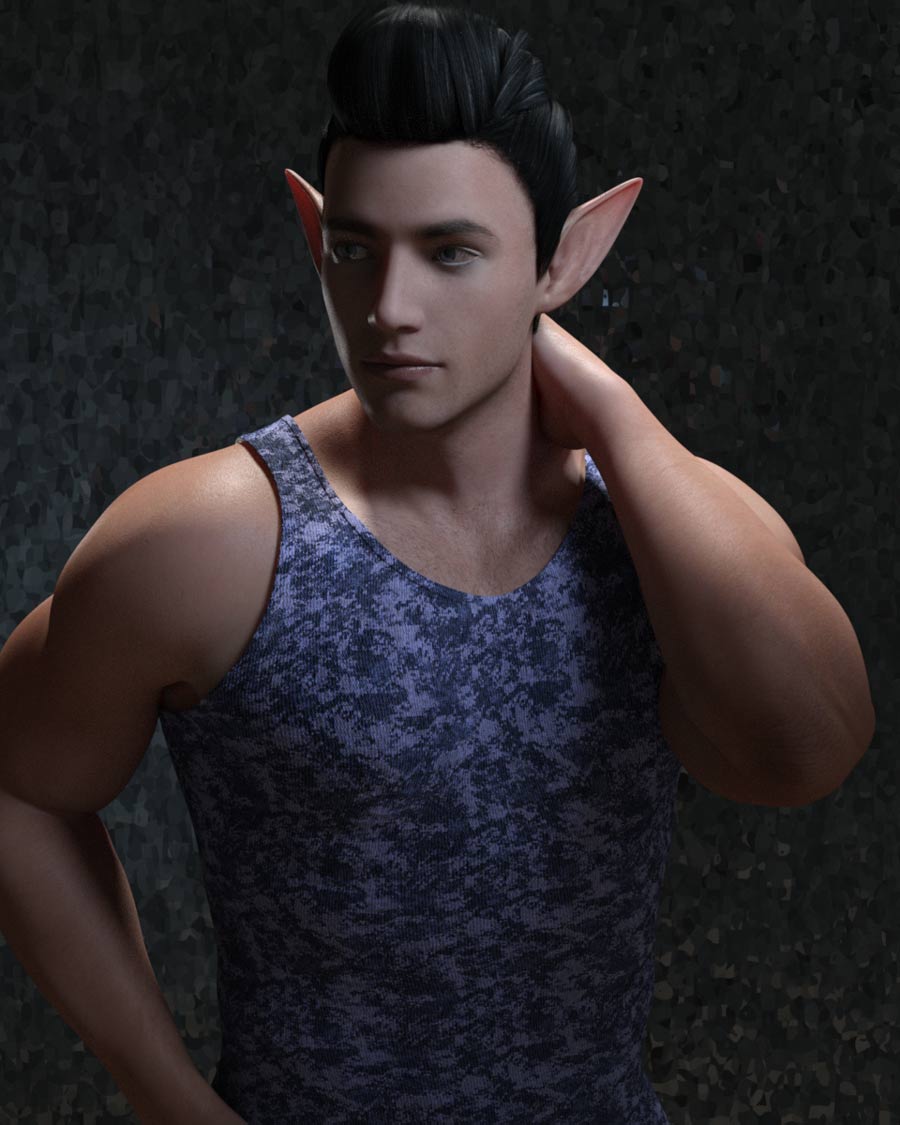
For users looking for a simple base mesh from which to build character sculpts, the base Genesis figure is a pretty good deal. It is light on the muscular details, and generally nondescript, perfect for making unique characters, either with morph packs or custom sculpts. Michael 8, on the other hand, is a strongly defined character. He is a big framed, muscular, strong-jawed dude.
Morph and JCM comparison
The base Genesis figure incorporates most of the features of Michael, minus the eyebrow fiber mesh props. The base G8M textures and materials are quite reasonable (excellent considering DAZ give away Genesis). Michael comes with different Iray material configurations (arguably better), normal maps, and an eyebrow-less texture option (handy when using fiber mesh eyebrows).
Michael 8’s eyebrows

Unconvincing eyebrows
A note on the mesh eyebrows that come with M8: I’m not a fan. They are too light. I felt they made the character look vaguely concerned (like he’s worried we might notice he just broke wind). They certainly don’t fit with the strong facial features.
For those that have the desire and the know-how, making modifications to the brows is probably quite a simple exercise. In my opinion, the eyebrows that are included in the texture set are much better, though obviously limited for closeups.
Given how happy I was with Victoria’s new eyebrows, this was a bit of a disappointment for me.
Michael 8 bundles
Michael 8 starter and pro bundles will mostly appeal to content junkies (who will find these great value). Those that require the “anatomical elements” (genitals) have no option but to buy the pro bundle. The content in the packages are reasonably well rounded selections covering the main broad categories and content types we see in the store – hair, character/textures, wardrobe (fantasy, sci-fi, contemporary), and pose sets.
Suggested content
If I had my way in putting the bundles together, I’d be including the body and head morphs, facial expressions (I picked up these three items), and the Slosh’s UV compatibility tool. That would be a nice pro bundle, extending Michael and Genesis 8 Male’s utility. Unfortunately such ideas will undoubtedly stay wish listed.
To buy or not
For most potential purchasers it will come down to a question of, do I like the Genesis 8 updates? If you didn’t think Victoria 8 was a worth adding to your runtime then there’s a good chance Michael 8 is the same. For me, the generation is a win, building on Genesis 3, refining the figure. Introducing fibre eyebrows was a good move, as was including JCMs to give better muscle deformation, something that would have been most welcome with Genesis 3 as it moved away from TriAx weight maps.
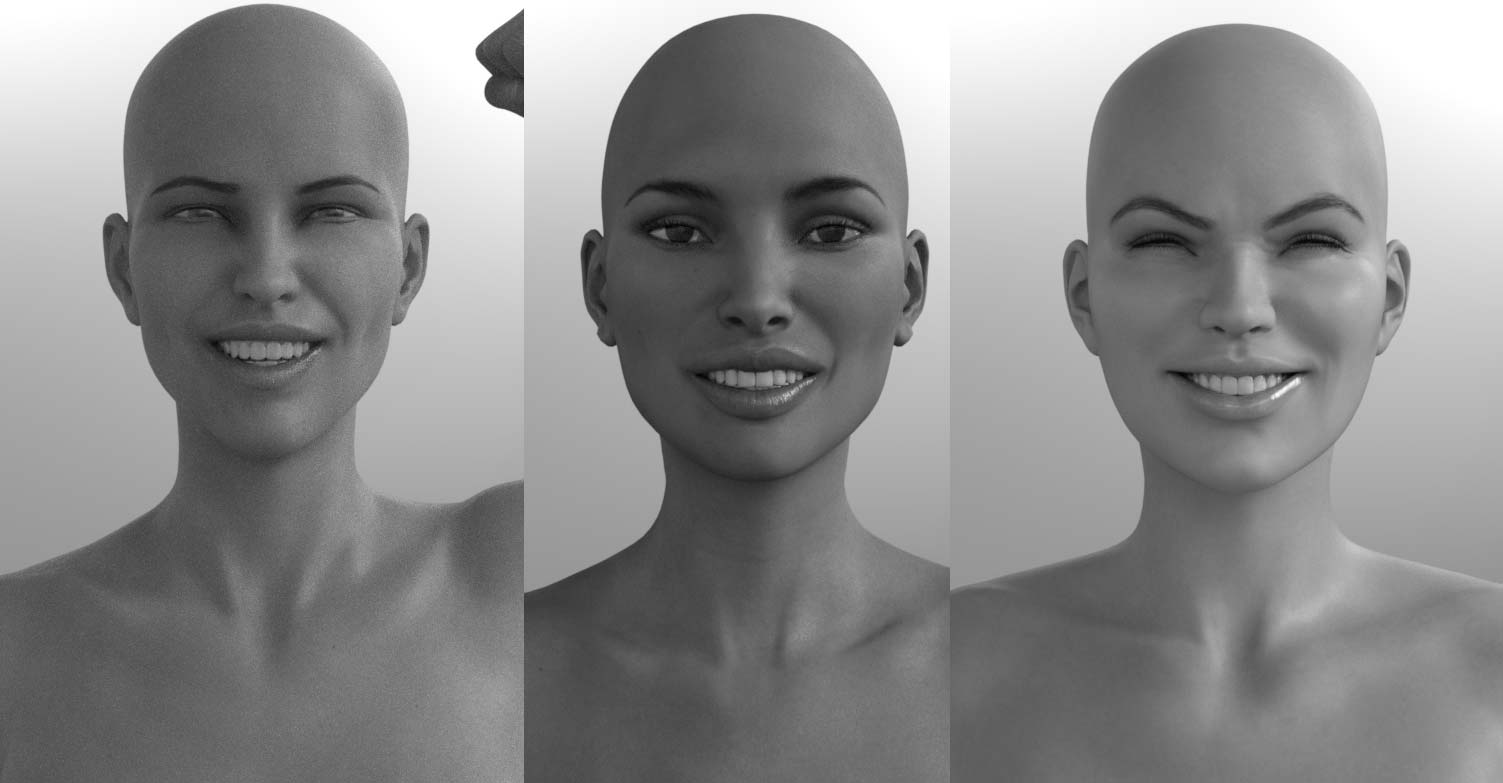
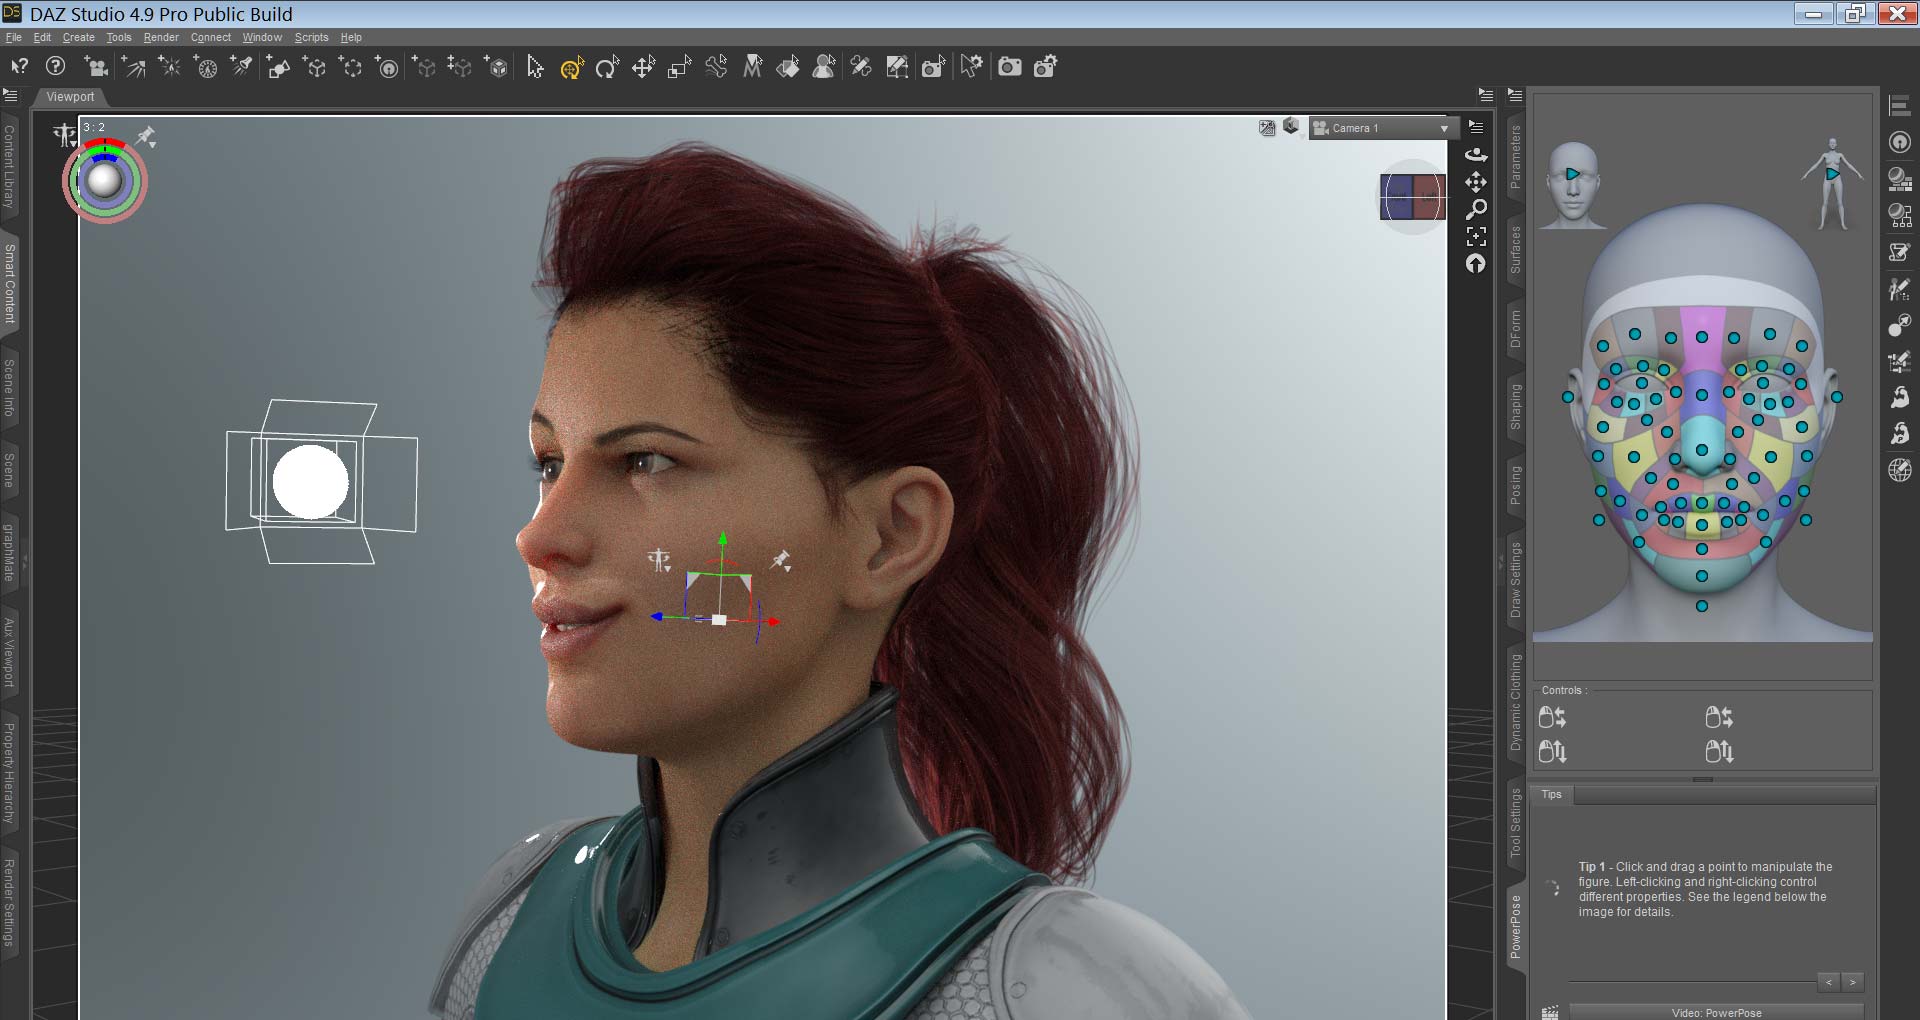
Genesis 8 Male using included free morphs.